NZ180/5
 IND56/2 (8.3/20 ov, target 181)
 NAM156/2 (32/50 ov)
 IRE
IRE AVL
AVL MNC
MNC RAY
RAY ELC
ELC GMB
GMB ZMB
ZMB NGA
NGA LES
LES CAG
CAG BOL
BOL COMO
COMO SAS
SAS FCA
FCA FCU
FCU KOE
KOE S04
S04 MOZ19
MOZ19 UGA23/0 (0.5/20 ov, target 20)
 Ipswich1
 Nottm Forest1
 Alavés1
 Málaga1
 Torino3
 Monza2
 WA
WA NSW371/8 (50 ov)
 DEN
DEN KUW
KUW KENYA
KENYA QAT
QAT SWD-W
SWD-W EPR-W
EPR-W TTN-W
TTN-W WPR-W
WPR-W NZ-A135/3 (41 ov)
 IND-A113
 DHA
DHA RAJ
RAJ MYMS
MYMS CHATT
CHATT RAN
RAN BAR
BAR SYL
SYL KHU
KHU MEX-W
MEX-W ARG-W
ARG-W UAE
UAE NED
NED PAK
PAK ENG
ENG IND-W
IND-W ZIM-W
ZIM-W AFG170/3 (34.3/50 ov, target 170)
 ZIM169
 CHE0
CHE0 DYI0
DYI0 CHO1
CHO1 QIN0
QIN0 HEN1
HEN1 BEI0
BEI0 LIA1
LIA1 ZHE0
ZHE0 QWC1
QWC1 YUN0
YUN0 SHX0
SHX0 Shanghai Shenh0
 TIG0
TIG0 SHP0
SHP0 WTT1
WTT1 SHT3
SHT3 M05
M05 SVW
SVW RBL
RBL ELV
ELV Brest1
 Nice2
Nice2 Stuttgart2
 Gladbach3
 Al Ahli4
 Al Khaleej1
Dive deep into one of Where Winds Meet‘s most atmospheric Jianghu Legacy quests. The River’s Fury takes you through ancient underground chambers, cryptic puzzles, and supernatural encounters beneath the Fishwood River. Here’s your complete step-by-step guide to conquering this rewarding adventure.
Where Winds Meet Overview
| Attribute | Details |
|---|---|
| Quest Type | Jianghu Legacy #09 |
| Location | Eternal Solitude Hall, Fishwood River, Kaifeng |
| Unlock Method | Talk to Wayfarer of Roaring Sands |
| Difficulty | Moderate (Puzzle & Combat) |
| Key Rewards | Red Fish Sword, Echo Jade, Ebon Iron x2, Enlightenment Points |
Starting Your Journey
Head to Fishwood River in Kaifeng and interact with the Wayfarer of Roaring Sands to unlock the quest. If you’ve discovered the Eternal Solitude Hall Boundary Stone, teleport directly there to save time. Enter the Hall to trigger an opening cutscene with the Eccentric Elder.
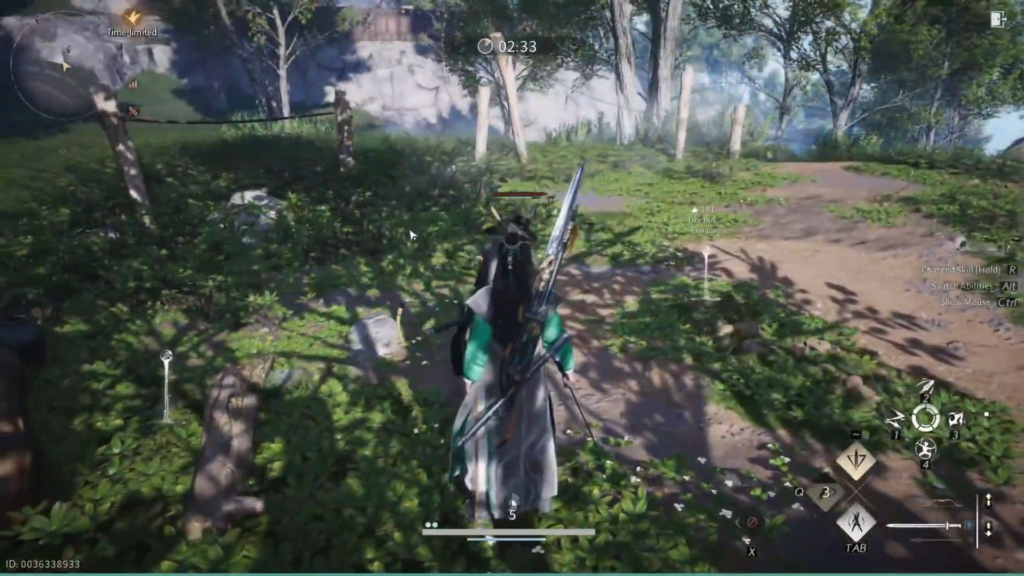
Your first task involves finding the Dusty Spirit Tablet—it’s located on the right side near the fence atop some rubble when facing the Elder. Deliver it to him, then bow three times before the statue to reveal a secret underground passage.
Mastering the Water Puzzles
The underground chambers contain multiple Tai Chi water redirection puzzles that control water levels throughout the dungeon. These mechanics are crucial for progression.
First Water Puzzle:
Descend the stairs and stand on the stone slab to activate the water spray. Use your Tai Chi ability to redirect the stream toward the mechanism on the right (look for yellow paint markings). This lowers the water level in the pool, allowing you to drop down and explore deeper. Avoid the explosive red plants underwater—they detonate on contact.
Second Water Puzzle:
After collecting the Hetu Fragment from an underwater passage (triggered by a cinematic), return to the Water Dragonhead contraption. Stand on the pedestal to activate the water flow, then use Tai Chi to guide it toward the water wheel. This raises the water level, granting access to the upper gate. Timing and aim are essential here—focus on the yellow markers for proper alignment.
Learn more about puzzle-solving techniques in open-world RPGs to enhance your exploration skills.
Combat Encounters: Freeing A’yu
The quest’s climactic battle requires more than brute force. You’ll face a possessed river spirit bound by a cursed mask. According to NetEase Games’ official guide, the key to victory lies in destroying the binding object, not just depleting the boss’s health bar.
Combat Strategy:
- Enter the arena and immediately locate the glowing mask (lock-on helps)
- Approach the mask and trigger the interaction prompt to pick it up
- Destroy the mask through repeated attacks while dodging the spirit’s counterattacks
- Continue offensive pressure on the freed A’yu until defeated
- Avoid playing too defensively—aggressive combat speeds up the encounter
The mask represents A’yu’s captivity. Breaking it symbolically frees the spirit while weakening its defenses. This mechanic foreshadows Where Winds Meet’s preference for symbolic actions over straightforward combat in boss encounters.
Discover more combat strategies for action RPGs to refine your martial arts techniques.

Final Steps and Rewards
After defeating the freed spirit, proceed to the Final Burial Chamber marker. A dialogue sequence plays out, revealing more about the region’s supernatural history. When prompted, select the “return to entrance” option—this teleports you back inside Eternal Solitude Hall.
Face the statue one final time and bow to trigger the completion cutscene. The quest concludes with substantial rewards including the Red Fish Sword (a solid mid-game weapon), crafting materials like Ebon Iron, and valuable Enlightenment Points for character progression.
Pro Tips:
- Collect hidden chests throughout the chambers before completing objectives (some areas become inaccessible)
- The underwater sections contain bonus loot guarded by snakes—use Celestial Seize for hard-to-reach treasures
- Completing this quest unlocks “The River Warden” Wandering Tale, which becomes available when the river water level drops at night
FAQs
Q: I’m stuck at “Activate the Contraption”—what am I doing wrong?
The contraption activation requires precise Tai Chi water redirection. Stand on the stone slab to activate the water dragonhead, then use Tai Chi to aim the water stream directly at the water wheel mechanism (look for yellow paint markers). The stream must hit the wheel’s center consistently for 2-3 seconds. If it fails, reposition yourself for better aim. Common mistakes include standing too far away or not holding Tai Chi long enough to complete the water flow.