
 SA329 (82.3 ov)
 AUS
 SAS2
 LAZ5
 ALS1
 HIL1
 ROMA
 CAG
 TOR
 COMO
 BAN
 WI
 IND-W
 ZIM-W
 GOA
 SC Delhi
 Milan
 Bologna
 Parma
 Udinese
 Venezia
 Inter Milan
 AFG177
 ZIM140 (19.1/20 ov, target 178)
 ABH0
 ALF1
 PAK110
 SL114/2 (18.1/50 ov, target 111)
 NAM316/7
 IRE253 (44.5/50 ov, target 317)
 SIKM184
 NAGA187 & 46/4 (34 ov)
 JHK131/4 (47 ov)
 DELHI515/5d
 ODSA194
 SVCS13/0 (5 ov)
 BRODA616
 J & K6/0 (4 ov)
 CHD685/5d
 HP49/0 (14 ov)
 CGR216/8 (95 ov)
 AP231
 HYD193/2 (54 ov)
 PNJB431
 KNTKA297/7 (95 ov)
 TPURA194
 KER101/6 (35 ov)
 BENG350
 MAHA278/9 (100 ov)
 GUJ223
 MNPR364
 ARP111 & 95/2 (36 ov)
 UAE
 OMA
 AUCK
 CANT
 CD
 ND
 DEN
 QAT
 KENYA
 KUW
 POA
 SPR
 NZ198/3
 IND199/4 (13.2/20 ov, target 199)
 NED371/5
 JAB113 (19.3/20 ov, target 133)
 KAY132/9
 BOC2
 M050
 CUA0
 GIR2
 EXC1
 ADO0
 APN1
 ELC1
 CF 0
 CEE1
 SES2
 ESP1
 AIK1
 ELF1
 BEN0
 CAT0
 WIM0
 ARS0
 SHO0
 ALH1
 Genoa
 Juventus
 Monza
 Napoli
 Sevilla2
 Osasuna0
 PSG2
 Lyon0
 Mohun Bagan1
 Chennaiyin0
 SAA2
 EST0
 BEI2
 JHM2

Navigating Arc Raiders‘ diverse map roster requires understanding each location’s unique terrain, enemy density, and risk level. From the beginner-friendly Dam Battlegrounds to the punishing Blue Gate expanse, each of the four current maps (with a fifth, Stella Montis, in development) presents distinct challenges that demand adaptive strategies. This comprehensive guide breaks down every map’s difficulty, loot quality, and tactical considerations to maximize your extraction success.
All Arc Raiders Maps Overview
| Map Name | Risk Level | Difficulty | Environment Type | Best For |
|---|---|---|---|---|
| Dam Battlegrounds | 2/5 | Low | Forests, swamplands | Beginners, quest completion |
| Spaceport | 3/5 | Medium-High | Indoor facility | Advanced loot farming |
| Buried City | 3/5 | Medium | Urban ruins | CQB practice, Snitch evasion |
| Blue Gate | 4/5 | High | Open expanse, mountains | Experienced players only |
| Stella Montis | TBA | Expected Medium-High | Unknown | Coming soon |
Map 1: Dam Battlegrounds (Risk Level 2/5)
Difficulty: Low Terrain: Forests, swamplands, mixed indoor/outdoor areas
Why Start Here
Dam Battlegrounds serves as Arc Raiders’ tutorial map, introducing core mechanics without overwhelming new players. The 2/5 risk rating reflects relatively predictable ARC enemy patterns and manageable PvP encounters.

Navigation: Easier than other maps with clear landmark visibility and straightforward pathing between POIs. The balanced indoor/outdoor mix provides both cover and open-area combat training.
Loot Distribution: Sparse in forested areas but concentrated in key locations. Don’t expect premium gear, but essential resources abound for crafting and upgrading.
Enemy Presence: ARC machines patrol constantly, especially in darkness. Maintain situational awareness despite the “beginner” label—complacency kills.
Quest Hub: Dam Battlegrounds hosts vital early-game quests, including the Down To Earth and Off the Radar missions. Prioritize quest completion before moving to higher-risk maps.
For detailed Dam Battlegrounds quest walkthroughs, visit our Arc Raiders quest guide.
Map 2: Spaceport (Risk Level 3/5)
Difficulty: Medium-High Terrain: Former launch facility, predominantly indoor
High-Risk, High-Reward Territory
Spaceport escalates difficulty significantly with advanced ARC enemies and intense PvP competition over high-tier loot. The 3/5 risk level understates the danger—expect fierce battles for premium resources.
Indoor Combat Dominance: The largely enclosed facility creates close-quarters engagements where positioning and quick reflexes determine survival. Long-range weapons lose effectiveness; prioritize mid-range loadouts.
Loot Quality: Among the best in Arc Raiders. High-end weapons, rare materials, and premium gadgets spawn regularly, attracting aggressive squads.
PvP Hotspot: If another squad reaches loot first, they control choke points and can eliminate you before extraction. Map knowledge separates survivors from victims.
Strategic Approach: Scout before committing, identify alternative extraction routes, and never assume areas are clear.
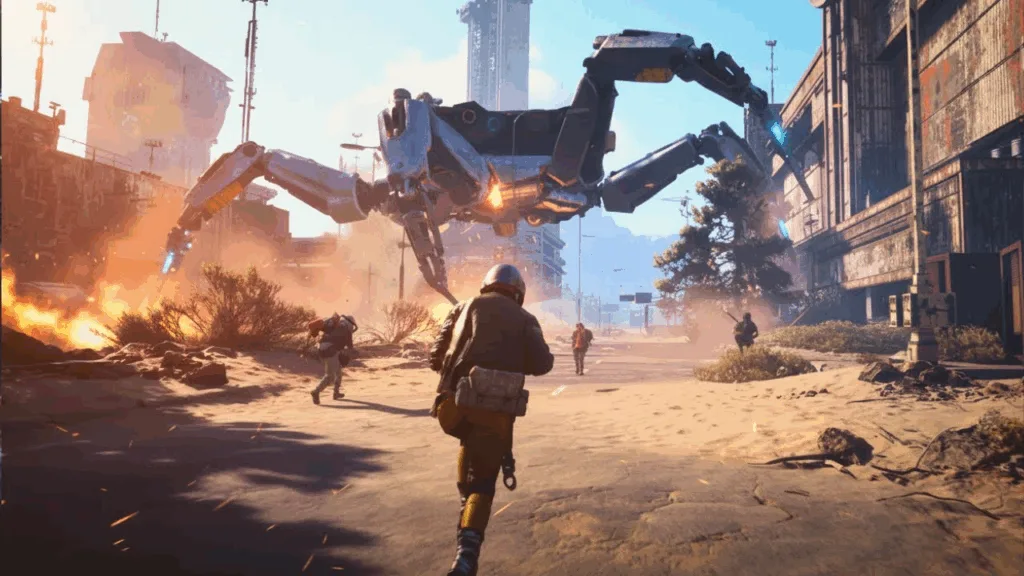
Map 3: Buried City (Risk Level 3/5)
Difficulty: Medium Terrain: Urban ruins, ancient civilization remnants
Urban Warfare Training Ground
Buried City showcases Arc Raiders’ post-apocalyptic history while teaching essential close-quarters combat and defensive positioning.
Vertical Combat: Rooftop ambushes are common and deadly. Always check elevated positions before entering open areas. The urban environment rewards players who master vertical gameplay.
Snitch Threat: These detection enemies are everywhere in Buried City. Getting spotted triggers reinforcements and alerts nearby squads to your position. Stealth becomes mandatory, not optional.
Exploration Rewards: Tons of hidden areas and exploration opportunities. Players who invest time learning Buried City’s layout gain significant advantages over those who rush through.
Skill Development: Perfect for transitioning from beginner to intermediate player. The medium difficulty forces measured aggression and defensive awareness without Blue Gate’s brutal punishment.
For Snitch evasion tactics and stealth mechanics, check our Arc Raiders survival guide.
Map 4: Blue Gate (Risk Level 4/5)
Difficulty: High Terrain: Wide natural expanse, mountain ranges, open areas
The Ultimate Challenge
Blue Gate represents Arc Raiders at its most unforgiving. The 4/5 risk level means even experienced squads face constant danger from elite enemies and unpredictable PvP encounters.
Visual Spectacle: Stunning mountain vistas and natural beauty hide lethal threats. The gorgeous scenery won’t save you from advanced ARC units.
Advanced Enemies: Leapers and other high-tier ARC machines spawn frequently. These enemies require coordinated squad tactics and superior weapon upgrades to defeat efficiently.
Open-World Ambush Risk: The expansive terrain makes predicting squad movements nearly impossible. Unlike Spaceport’s choke points, Blue Gate’s openness creates 360-degree threat vectors.
Mobility Requirements: Survival demands excellent movement skills, gadget mastery, and split-second decision-making. Static positioning equals death.
Loot vs. Risk: While Blue Gate offers premium rewards, the extraction failure rate is highest here. Only attempt with experienced squads and optimized loadouts.
For Blue Gate tunnel access and advanced navigation, visit the official Arc Raiders website.
Coming Soon: Stella Montis (Risk Level TBA)
Embark Studios is developing a fifth map, Stella Montis, expected later this season. Based on Arc Raiders’ difficulty progression, anticipate medium-to-high risk levels (3-4/5) with unique environmental challenges.
Strategic Map Selection Tips
Progression Path: Dam Battlegrounds → Buried City → Spaceport → Blue Gate
Loot Farming: Spaceport for weapons, Blue Gate for rare materials (high risk)
Quest Completion: Dam Battlegrounds (essential early quests)
Skill Development: Buried City (CQB and stealth training)
Endgame Content: Blue Gate (max-gear squads only)