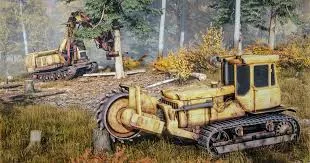
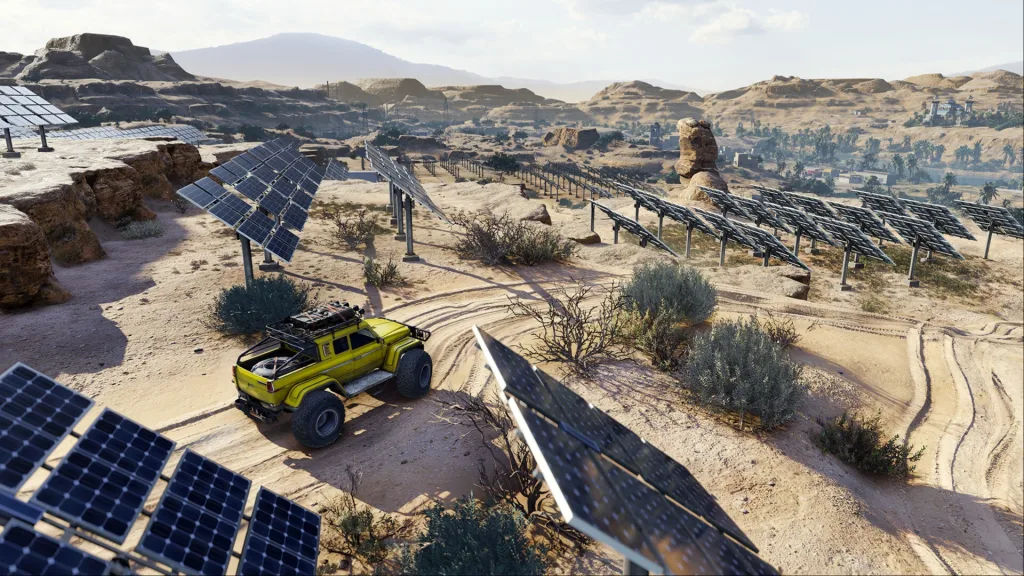
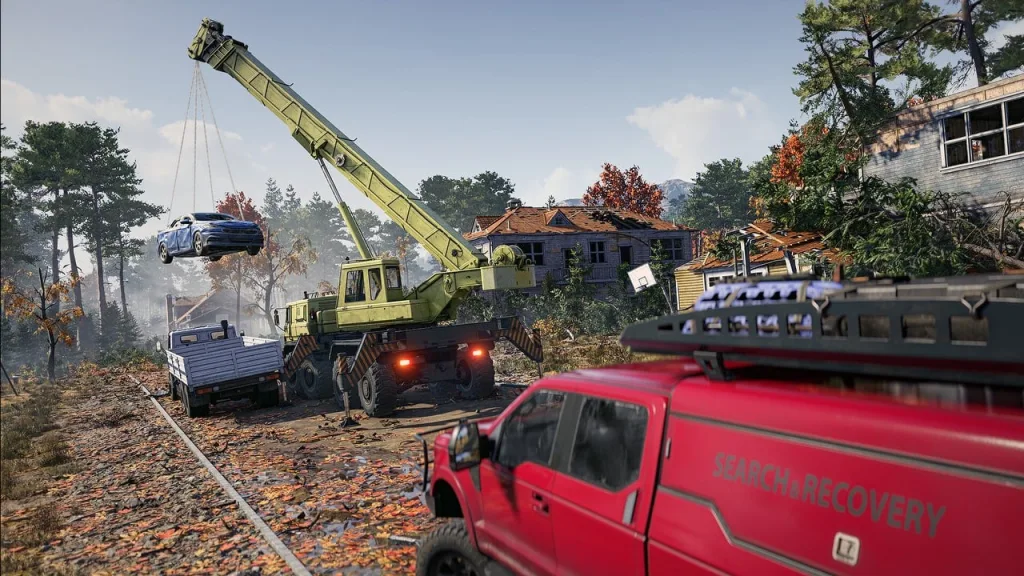
In the ever-evolving world of sandbox gaming, few titles have captured the imagination of creative players quite like RoadCraft. With its blend of open-world exploration, intricate building mechanics, and a thriving online community, RoadCraft offers endless possibilities for those who love to shape their own adventures.
Yet, for many players, the true magic of RoadCraft lies in its vibrant modding scene. Mods—short for modifications—allow users to customize nearly every aspect of the game, from adding new vehicles and tools to introducing entirely new gameplay systems. As the popularity of RoadCraft continues to soar, more and more players are eager to learn how to safely download and install mods, unlocking a world of fresh content and enhanced gameplay. Whether you’re a seasoned builder or a newcomer looking to expand your horizons, understanding the process of modding RoadCraft is essential for getting the most out of your gaming experience.
Table of Contents
How to Download and Install Mods in RoadCraft
The process of downloading and installing mods in RoadCraft is both straightforward and rewarding, but it does require a bit of care to ensure everything runs smoothly. The first step is to identify reputable sources for mods. The official RoadCraft website and well-known community forums are the safest places to find high-quality, virus-free modifications. Avoid downloading mods from unfamiliar sites, as these can sometimes contain malicious software or outdated files that may harm your game or computer.
Once you’ve found a mod you’d like to try, check its compatibility with your current version of RoadCraft. Mod developers typically specify which game versions their creations support, and using an incompatible mod can lead to crashes or other issues. After confirming compatibility, download the mod file—usually in a compressed format such as .zip or .rar. It’s a good idea to scan the file with antivirus software before proceeding, just to be safe.
Next, locate your RoadCraft installation directory. This is where the game’s core files are stored, and it’s typically found in your computer’s Program Files or a custom folder you selected during installation. Within this directory, look for a folder labeled “Mods” or create one if it doesn’t already exist. Extract the contents of your downloaded mod file into this folder, making sure to follow any specific instructions provided by the mod creator. Some mods may require additional steps, such as copying files into subfolders or running a separate installer.
After installing the mod, launch RoadCraft and navigate to the game’s mod management menu. Here, you can enable or disable installed mods, adjust their load order, and configure any custom settings they offer. It’s wise to activate one mod at a time and test your game after each installation, as running multiple mods simultaneously can sometimes cause conflicts. If you encounter any issues, consult the mod’s documentation or reach out to the community for troubleshooting tips.
Regularly updating your mods is also important, as developers frequently release patches to fix bugs, add new features, or ensure compatibility with the latest version of RoadCraft. Most modding platforms offer notification systems or update logs to help you stay current. By keeping your mods up to date, you’ll enjoy a smoother, more stable gaming experience.
Step-by-Step RoadCraft Mod Installation Process
| Step | Description |
|---|---|
| 1. Find Reputable Mods | Use official sites or trusted community forums for safe downloads |
| 2. Check Compatibility | Ensure the mod matches your RoadCraft version |
| 3. Download and Scan | Download the mod file and scan for viruses |
| 4. Locate Game Directory | Find or create the “Mods” folder in your RoadCraft installation directory |
| 5. Extract and Install | Extract mod files into the Mods folder, following any specific instructions |
| 6. Enable in Game | Use the mod management menu to activate and configure the mod |
| 7. Test and Update | Test the game after installation and keep mods updated |
Best Practices for Safe and Enjoyable Modding
Modding can transform your RoadCraft experience, but it’s important to follow best practices to avoid common pitfalls. Always back up your save files before installing new mods, as this will allow you to restore your progress if something goes wrong. Read user reviews and feedback on mods to gauge their reliability and performance, and pay attention to any known issues or compatibility notes provided by the developer.
When using multiple mods, be mindful of potential conflicts. Some mods may alter the same game files or introduce features that don’t work well together. If you notice crashes or glitches, try disabling mods one by one to identify the culprit. Many experienced modders recommend keeping a list of installed mods and their versions, making it easier to troubleshoot problems or revert to previous setups.
Engaging with the RoadCraft modding community can also enhance your experience. Forums, Discord servers, and social media groups are great places to share tips, discover new mods, and get help with technical issues. Mod creators often appreciate feedback and suggestions, and contributing to the community can help ensure the continued growth and innovation of the RoadCraft modding scene.
Splitgate 2 Ranked Mode: Everything You Need to Know About Competitive Play in the Open Beta
Frequently Asked Questions (FAQs)
Q1: Are RoadCraft mods safe to use?
Most RoadCraft mods are safe when downloaded from reputable sources such as the official website or trusted community forums. Always scan files for viruses and read user reviews before installing.
Q2: Can I use multiple mods at once in RoadCraft?
Yes, you can use multiple mods simultaneously, but be aware that some mods may conflict with each other. It’s best to install and test mods one at a time to ensure compatibility and stability.