How to Install Marvel Rivals Mods in 2025: The modding community on Nexus Mods has grown to an incredible 60 million gamers. This massive number shows the rising popularity of game modifications, especially for newcomers and veterans of Marvel Rivals mods alike.
Players have awarded more than 3 million kudos to mods that customize their gaming experience. Marvel Rivals supports numerous modding options – from character skins to sound improvements. The process takes just 20 simple steps to begin.
More than 15,000 players have already mastered Marvel Rivals mod installation. We’ll guide you through every aspect, from simple setup to fixing common problems. Your Marvel Rivals experience is about to become exceptional!
Table of Contents
Understanding Marvel Rivals Mods Basics
Marvel Rivals mods have sparked intense discussions in the gaming community right after release. Players use these custom creations to make their gaming experience more personal. Let’s take a closer look at these modifications.
What are Marvel Rivals mods?
Marvel Rivals mods are custom changes that players create to modify characters, audio, and performance in NetEase’s 6v6 hero shooter. The game runs on Unreal Engine 5, so these modifications exist as pak files that players can add to the game. These custom additions change how the game looks or works without touching the core gameplay mechanics.
The game’s modding community has exploded in size. Nexus Mods now hosts more than 2,100 Marvel Rivals mods as the game enters Season 1. This shows how passionate players are about making the game their own.
Types of mods available
Marvel Rivals modders create several types of modifications:
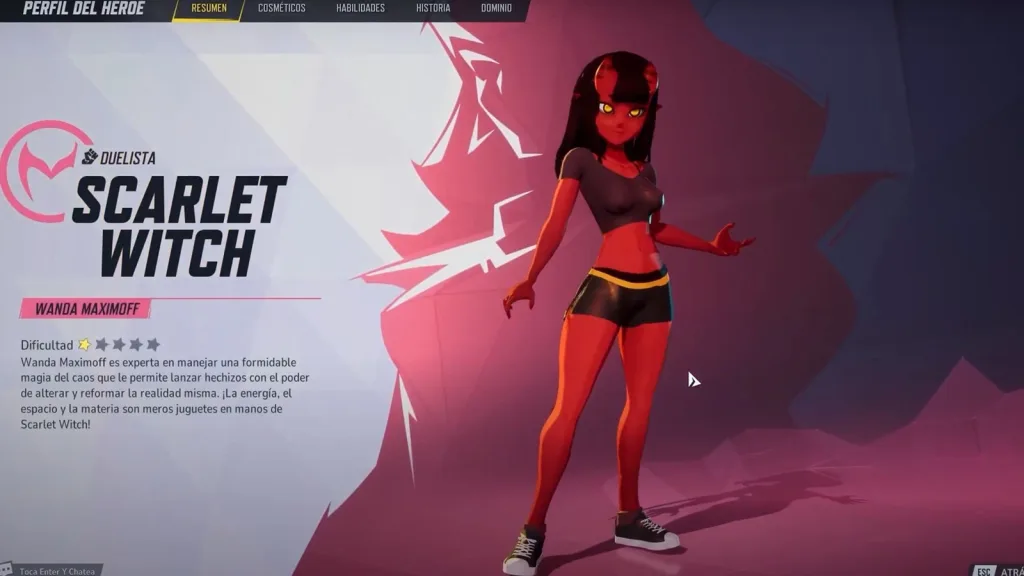
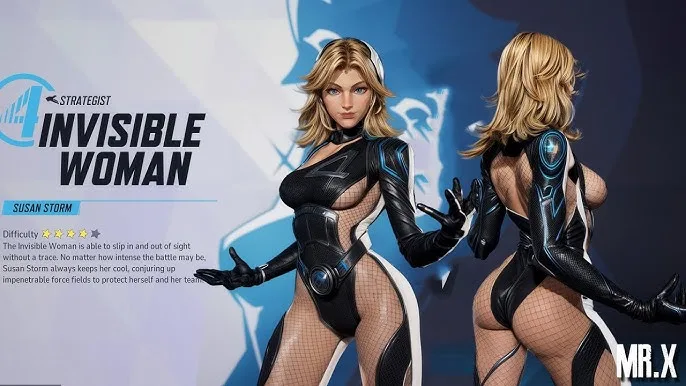
- Character reskins – These mods change heroes’ appearances and make up 42% of all Nexus uploads. Players can turn Iron Man into Dragon Ball’s Vegeta or give Mantis a goth makeover.
- Ultimate ability sound swaps – Players can change the sound effects of character ultimates.
- UI overhaul packs – These give the game’s interface a fresh look.
- Performance optimization suites – These help the game run better, especially on lower-end PCs.
On top of that, creative modders have made unique changes like turning Jeff the Land Shark into Chainsaw Man’s Pochita or making Mister Fantastic look like One Piece’s Luffy.
Is modding Marvel Rivals allowed?
NetEase says no. Their terms of use state that changing game files can get your account banned. The developers have made this clear on their Discord server, warning about “unexpected issues” and possible bans for anyone who modifies game content or config files.
Season 1 brought asset hash checking – a system that looks for modified game files. NetEase built this system to stop modding, though some players have found ways around it.
Players still use mods despite these risks. The modding community stays active, and some players argue that performance mods are needed because the game doesn’t run well. A modder put it simply: “It’s not a question of if it will happen or not, but when” about facing consequences.
The bottom line? Marvel Rivals mods are everywhere, but using them breaks the game’s rules and might get you in trouble.
| Step | Action | Details |
|---|---|---|
| 1 | Find a Trusted Mod Source | Use well-known modding communities like NexusMods, ModDB, or official Discord groups. Avoid suspicious websites. |
| 2 | Download the Mod Files | Ensure the files are for Marvel Rivals (2025) and compatible with your game version. Look for .pak, .dll, or .zip files. |
| 3 | Locate Game Directory | Typically found in C:\Program Files\Marvel Rivals or via Steam/Epic Games → Right-click game → Manage → Browse Local Files. |
| 4 | Backup Original Files | Before installing mods, copy the original game folder or affected files to avoid game crashes. |
| 5 | Install the Mod | Follow the mod’s instructions. Usually involves copying mod files into Mods or Paks folder inside the game directory. |
| 6 | Enable Mod (if required) | Some mods need enabling via game settings or a mod loader tool. Refer to the mod’s readme.txt. |
| 7 | Launch Game & Test | Start Marvel Rivals. If it crashes or doesn’t reflect changes, recheck mod instructions or update game version. |
| 8 | Join Mod Community | For troubleshooting, updates, and custom content, engage with communities on Reddit, Discord, or forums. |
Preparing Your System for Marvel Rivals Mods
The exciting world of Marvel Rivals modding awaits you. A proper setup of your system will prevent crashes and make mod management easier.
Required tools and software
Marvel Rivals mods require several key tools:
- Unzip software – Programs like WinRAR, 7-Zip, or the built-in Windows extractor help unpack downloaded mod files
- Mod manager (optional but recommended) – The Rivals Reconstructed Mod Manager v3.0 makes installation and management of multiple mods simple
- Repak tool – Mods created before Season 1 need the repak-RivalsVersion.B.zip tool from Nexus Mods
Older mods (created before February 25th) need the Repak Rival tool to reformat files that work with the current game version.
Creating backup files
Your original game files need protection before any Marvel Rivals mods installation. This safeguards your setup and lets you undo changes easily:
- Back up original .pak files during mod testing
- Add “.bak” to important game file names to save the original version
- A complete copy of your Marvel Rivals installation folder helps
Note that Steam should be closed completely before replacing any files during restoration.
Setting up folder structures
Marvel Rivals mods need the right folder structure to work:
- Find your game directory based on your platform:
- Steam users: Right-click Marvel Rivals > Manage > Browse local files
- Epic users: Go to library > click three dots > Manage > folder icon
- The Paks folder path is: MarvelGame > Marvel > Content > Paks
- Make a new folder called “~mods” (with the tilde) inside the Paks folder
- Your Marvel Rivals mods folders need proper permissions. Disable Windows Defender’s immediate scanning to avoid interference
This setup helps the game load your custom content while keeping everything organized.
Step-by-Step Marvel Rivals Mod Installation
Let’s dive into installing Marvel Rivals mods after setting up our system. The game runs on Unreal Engine 5, which makes mod installation a breeze once you grasp the simple concepts.
Manual installation method
You can install mods manually in just a few steps. Download your preferred mod from Nexus Mods. Access your Marvel Rivals folder through the game launcher. Steam users can right-click Marvel Rivals and select “Manage > Browse local files”. Epic Games users should click the three dots > “Manage” > folder icon. Head to MarvelGame > Marvel > Content > Paks folder. Look for the “~mods” folder you created earlier. Extract the .pak file from your downloaded mod and place it in this folder. Your mod should be active once you start the game.
Using mod managers
Players prefer the Rivals Reconstructed Mod Manager as their go-to installation tool. Get it from Nexus Mods, extract the files, and launch RivalsReconstructed.exe. The manager spots your game installation or lets you pick the folder yourself. The setup is straightforward – drag your downloaded .pak files onto the manager and click “Execute Mod.” It handles all file placement and offers presets to switch between different mod collections.
Installing multiple mods simultaneously
Keep an eye on possible conflicts while installing multiple mods. The mod manager’s “Manage Mods” section lets you turn specific mods on or off. Older mods from before Season 1 need an update – just drag the .pak file onto fixLastPatchMods.bat to use the repak tool. The current mod manager version works best with up to four mods at a time.
Verifying successful installation
Start Marvel Rivals to check if your mods’ visual changes appear in-game. Check file paths and permissions if mods don’t show up. Steam users should right-click the game and pick “Verify Integrity of Game Files” to fix issues. Epic Games users can use the “Verify” option under “Manage.” Mod files usually include an underscore with “999” to take priority over default files.
Troubleshooting Common Marvel Rivals Mod Issues
Marvel Rivals mod creators face their share of problems. Learning about common issues and fixes will help you spend less time troubleshooting.
Mods not appearing in-game
Make sure your mods are in the right place – the “~mods” folder within the Paks directory. The file structure requirements changed for Season 1 mods. You’ll need to repack older Season 0 mods with the right tool. Use fixLastPatchMods.bat for mods released after February 10th, 2024, and repakMod.bat for earlier ones. Your mods might not show up if the game updated recently. NetEase’s asset hash checking can disable modifications.
Game crashes after mod installation
Game crashes are common after mod installation. NetEase warned players about modifying game files. Here’s how to fix crashes:
- Clear out all files in the AppData/Local/Marvel/Saved/Crashes folder
- Let Steam or Epic Games launcher check your game files
- Get your graphics drivers and Windows OS up to date
- Take out mod files and check game files again if crashes continue
The safest option is to play without problematic mods until official fixes come out.
Conflicts between multiple mods
Mods often clash, especially when they change the same cosmetic elements. The Rivals Reconstructed Mod Manager can spot potential conflicts before they cause problems. Game patches might break mods that worked well together. The “beast Gohan mod for Black Panther” needed fixes from developers after causing crashes.
How to uninstall problematic mods
You should know how to remove mods properly:
- Remove the .pak file from the “~mods” folder
- Use the “Disable” or “Delete” options if you have a mod manager
- Let your launcher check the game files
- A complete game reinstall might help with stubborn issues
Keeping backups of your original files makes it easier to restore everything if things go wrong.
Conclusion
Marvel Rivals mods give players exciting ways to customize their gameplay. Players should think over the risks carefully. NetEase has made their position clear – they don’t support modding. This means you could face account bans if caught.
You need to know the right way to install mods and keep your files backed up properly. The mod community keeps creating amazing new content. A good backup system and smart mod management are vital safeguards that protect you from technical problems.
The decision to mod Marvel Rivals comes down to your personal choice and understanding of the risks. If you decide to try mods, follow the installation steps correctly and maintain regular backups. Watch out for game updates that might break your mods. Take your time and be methodical – your success depends on paying attention to details rather than rushing the process.
FAQs
Q1. How do I install mods for Marvel Rivals?
To install mods, create a “~mods” folder in your game’s Paks directory. Download the desired mod, extract the .pak file, and place it in the “~mods” folder. You can use a mod manager like Rivals Reconstructed for easier installation and management.
Q2. Are mods allowed in Marvel Rivals?
No, modding Marvel Rivals is not officially allowed. NetEase has explicitly warned against modifying game files, and doing so may result in account bans. The game now uses asset hash checking to detect modifications.
Q3. What types of mods are available for Marvel Rivals?
Popular mod types include character reskins, ultimate ability sound swaps, UI overhaul packs, and performance optimization suites. Some unique mods transform characters into those from other franchises.
Q4. How can I troubleshoot mods that aren’t working?
First, ensure mods are correctly placed in the “~mods” folder. For older mods, use the repak tool to update them. If issues persist, verify game files through your launcher, update graphics drivers, and consider removing problematic mods.
Q5. What should I do if Marvel Rivals crashes after installing mods?
If the game crashes, try deleting files in the AppData/Local/Marvel/Saved/Crashes folder, verify game files, and update your graphics drivers. If problems continue, remove all mod files and validate game files. Consider playing without mods if crashes persist.