
Ready to tackle the most challenging chapter yet in Sam Porter Bridges’ journey? Death Stranding 2 Episode 9 throws everything at you – from intense deliveries to heart-pounding boss battles. Whether you’re struggling with the Eastern Environmental Observatory or preparing for the final showdown, this comprehensive guide will ensure you complete every order with S-rank efficiency.
Table of Contents
Episode 9 Overview: What to Expect
Episode 9 in Death Stranding 2 delivers a mix of everything — from basic deliveries and intense boss fights to recovery missions and all-out combat. This chapter represents a significant difficulty spike, requiring both strategic thinking and quick reflexes to overcome its challenges.
| Episode 9 Details | Information |
|---|---|
| Total Orders | 6 Main Orders (38-43) |
| Difficulty Level | Very Hard |
| Key Locations | Eastern & Southern Environmental Observatory |
| Boss Fights | 2 Major Encounters |
| Estimated Time | 4-6 hours |
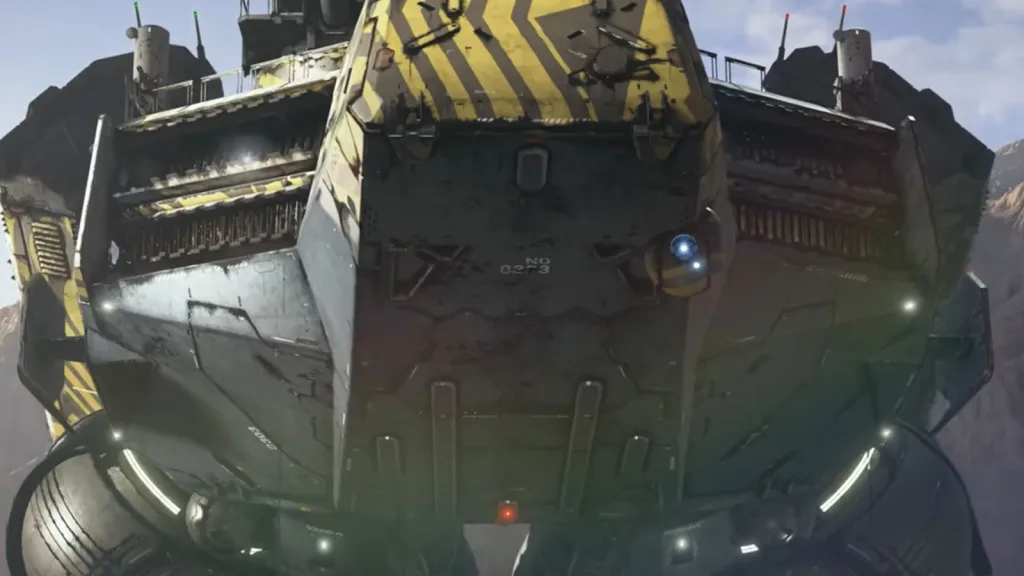
Order 38: Eastern Environmental Observatory Delivery
Your first task in Episode 9, Order 38, is to bring Chiral Decontaminators and Sedatives to the Eastern Environmental Observatory. This mission sets the tone for the entire episode with its demanding cargo requirements.
Essential Preparation:
- Cargo: Chiral Decontaminators (2x) and Sedatives (3x)
- Equipment: Sturdy boots, floating carriers, and weather protection
- Route Planning: Use the northern path to avoid BT concentration zones
Pro Tips for Success:
- Balance your load carefully – these items are fragile and heavy
- Set up zip lines if you haven’t already for faster traversal
- Check weather conditions before departing to avoid timefall damage
Orders 39-42: Mid-Episode Challenges
The middle section of Episode 9 features a series of interconnected missions that test your delivery skills and combat readiness. These orders include:
Order 39: Recovery mission requiring stealth and precision Order 40: Multi-part delivery spanning multiple facilities Order 41: Combat encounter with hostile factions Order 42: Time-sensitive pharmaceutical delivery
For detailed strategies on optimizing your delivery routes and cargo management, check out our comprehensive Death Stranding 2 delivery guide for expert techniques.
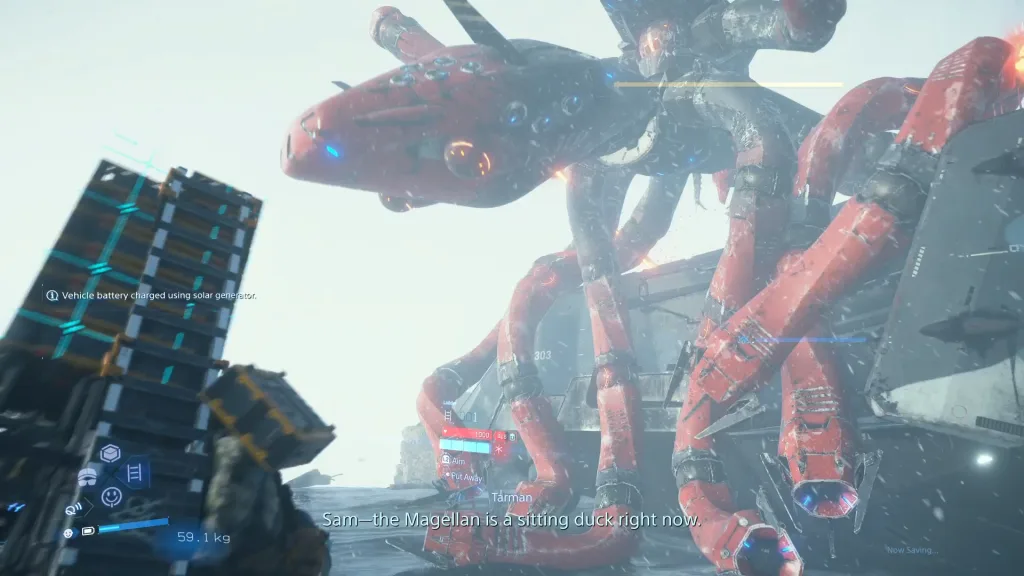
Order 43: The Final Showdown
As for the final mission of Death Stranding 2 Episode 9, Order 43 tasks you with taking down Chiral Jammers set up by the Armed Survivalists. While you’re at it, you also need to eliminate all the threats in the Southern Environmental Observatory.
Combat Preparation Checklist:
- Weapons: Assault rifles, grenades, and rocket launchers
- Armor: Full protection gear recommended
- Supplies: Extra ammo, first aid kits, and repair spray
- Strategy: Clear perimeter first, then focus on jammers
Boss Fight Strategy: The Southern Environmental Observatory houses one of the toughest encounters in the game. Focus on:
- Using cover effectively against ranged attacks
- Targeting weak points for maximum damage
- Managing your stamina during prolonged engagements

Essential Equipment and Loadout
Success in Episode 9 depends heavily on proper preparation. Here’s your optimal loadout:
Primary Gear:
- Level 3 Power Skeleton for heavy cargo
- All-terrain skeleton for combat mobility
- Weather protection suit for timefall areas
- Upgraded boots for rough terrain
Combat Equipment:
- Assault rifle with extended magazine
- Grenade launcher for crowd control
- Rocket launcher for heavy targets
- Plenty of ammunition and repair materials
For advanced combat strategies and weapon optimization, visit our Death Stranding 2 combat guide to master every encounter.
Navigation and Route Planning
Episode 9’s challenging terrain requires careful route planning:
Eastern Observatory Route:
- Take the northern mountain path to avoid BT zones
- Use zip lines for cargo protection
- Watch for weather changes that affect visibility
Southern Observatory Approach:
- Scout the area before engaging enemies
- Use elevated positions for tactical advantage
- Keep escape routes clear for tactical withdrawals
Rewards and Progression
Successfully completing Episode 9 unlocks significant story progression and valuable rewards:
- New Equipment: Advanced fabrication options
- Story Progression: Major plot revelations
- Connection Levels: Increased facility relationships
- Likes: Substantial reputation boosts
Post-Episode Tips
After completing Episode 9, take time to:
- Repair and upgrade your equipment
- Strengthen facility connections for better rewards
- Prepare for the upcoming challenges in Episode 10
Stay updated with the latest Death Stranding 2 strategies and updates by following our Death Stranding 2 news section for comprehensive coverage.
You can find more detailed walkthroughs and tips on the official PlayStation website for additional insights from Kojima Productions.
Conquer every challenge in Death Stranding 2 with expert guides and strategies from TechnoSports. Master the art of delivery and become the ultimate porter in Kojima’s masterpiece.
Frequently Asked Questions
Q: What’s the recommended level for Episode 9 in Death Stranding 2?
A: While there’s no strict level requirement, having upgraded equipment and high facility connection levels (4-5 stars) significantly improves your chances of success. Focus on upgrading your skeleton suits and weapons before attempting the combat-heavy sections.
Q: Can I replay Episode 9 orders if I miss S-rank ratings?
A: Yes, you can replay any order from the Order Terminal after completing it initially. This allows you to optimize your approach, improve delivery ratings, and earn better rewards. Perfect for completionists aiming for 100% completion.