Shani needs your help establishing a crucial network connection from the top of Control Tower A6. The Lost in Transmission quest challenges you with a straightforward vertical mission in Spaceport—but getting to the summit and back alive requires preparation. Here’s your complete walkthrough to reaching the tower’s peak and claiming your Snap Hook reward.
Table of Contents
Arc Raiders: Quest Essentials
| Quest Details | Information |
|---|---|
| Quest Giver | Shani |
| Location | Control Tower A6, Spaceport |
| Required Item | Spaceport Control Tower Key |
| Completion Mode | Single Round (No Extraction) |
| Primary Objective | Establish network connection from terminal |
| Reward | 1x Snap Hook |
| Difficulty | Medium |
| Key Challenge | Vertical navigation, securing tower access |
Prerequisites: Getting the Tower Key
Before attempting this quest, you absolutely need the Spaceport Control Tower Key. Without this access card, you’ll stand outside Control Tower A6 unable to proceed. This key typically drops from specific loot sources or quest completions in earlier missions.
Pack appropriate gear before heading out. Spaceport attracts heavy foot traffic from both hostile players and Arc units. Bring mid-range weapons, healing supplies, and enough ammunition for potential engagements. The tower’s elevation makes you vulnerable during the climb—plan your defense accordingly.
Step-by-Step Tower Assault
Phase 1: Locating Control Tower A6 Navigate to the Spaceport map and identify Control Tower A6 on your tactical display. This distinctive structure stands prominently among the industrial facilities. Approach cautiously—other players pursuing similar quests often converge on this high-value location.
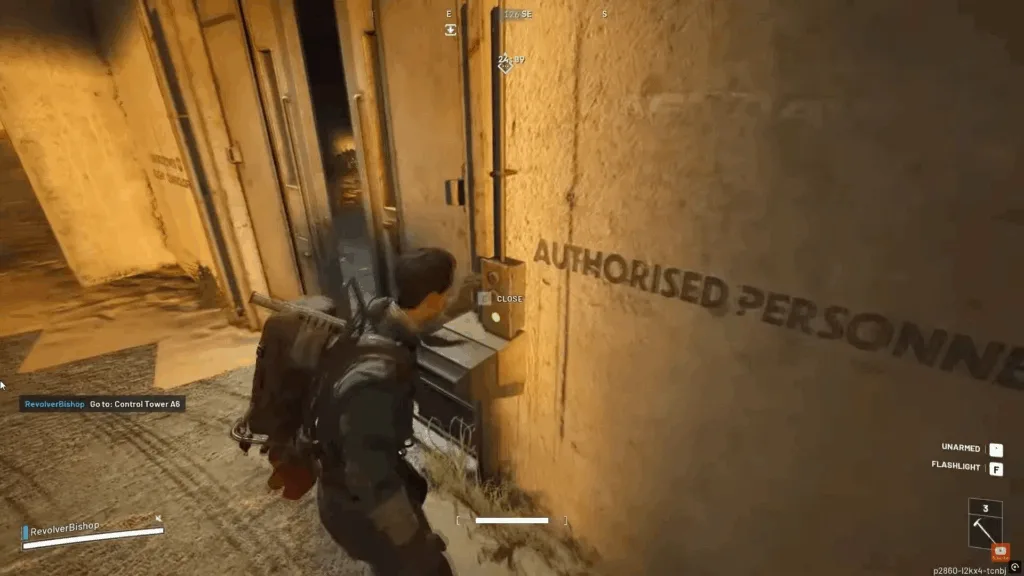
Phase 2: Gaining Entry Reach the tower entrance and use your Spaceport Control Tower Key to unlock the door. The access card opens the main entrance, granting you passage to the interior. Once inside, locate the elevator shaft—your path to the summit begins here.
Phase 3: Vertical Ascent The tower features a zipline system running through the elevator shaft. Interact with the zipline and ride it to the top floor. Stay alert during your ascent—enemy players sometimes camp tower tops or chase pursuers up the line. Listen for footsteps and gunfire above before committing to the climb.
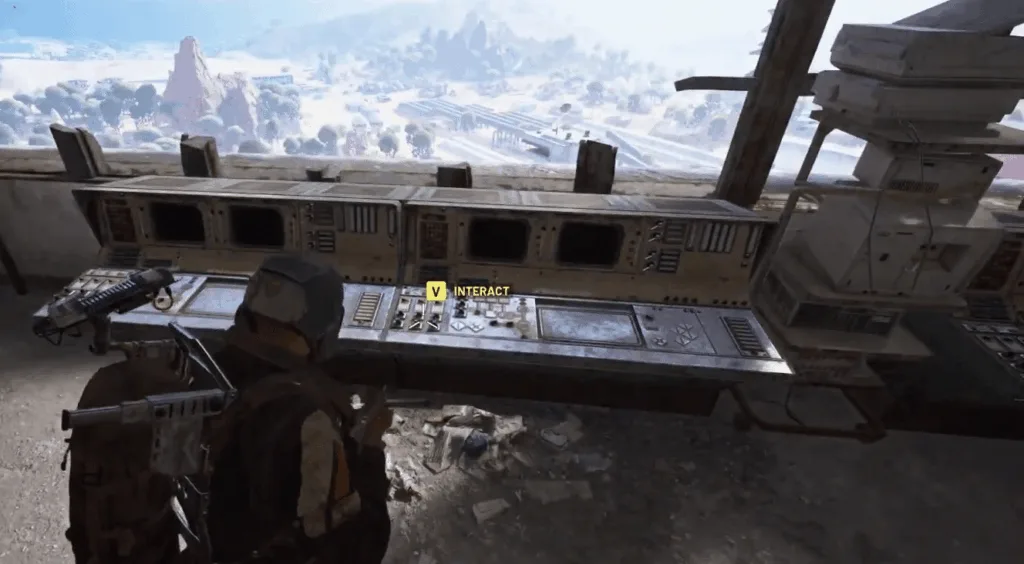
Phase 4: Terminal Activation Upon reaching the summit, you’ll find the control panel terminal waiting for you. Walk up to the console and hold your interact button to initiate the signal transmission. The process takes several seconds, leaving you momentarily vulnerable. Position yourself strategically and watch common entry points.
Safe Extraction Strategy
Critical reminder: This quest requires completion in one round without extracting early. If you extract before establishing the connection, the quest fails and you’ll restart from scratch. Only after successfully transmitting the signal from the terminal should you consider leaving.
Once the connection establishes, make your way back down the tower carefully. The zipline descent leaves you exposed to ambushes—consider alternative exits if available. Navigate to your nearest extraction point and return to Speranza safely.
Claiming Your Snap Hook Reward
Return to Shani after successful extraction. She’ll acknowledge your completion and reward you with 1x Snap Hook—a valuable equipment item for future missions. This traversal gear enhances your mobility options across various Arc Raiders maps, making it worth the tower climb.
For more Arc Raiders quest walkthroughs and equipment guides, check our comprehensive mission database.
Pro Completion Tips
- Timing matters: Attempt during off-peak hours to minimize player conflicts
- Scout first: Use binoculars to check for campers before entering
- Backup key: Ensure your Control Tower Key is equipped before departing
- Sound discipline: Zipline travel creates noise—expect company at the top
- Escape plan: Identify multiple extraction routes before starting the mission
Frequently Asked Questions
What happens if I die before establishing the connection?
If you’re eliminated before completing the terminal transmission, the quest progress resets entirely. You’ll need to return to Control Tower A6 in a new round with another Spaceport Control Tower Key and attempt the full sequence again. Store your key in Safe Pockets if using Looting MK.2 to protect it from loss upon death.
Can I complete this quest with teammates or does it require solo play?
The Lost in Transmission quest absolutely benefits from squad coordination. While individual players can complete it solo, bringing teammates provides security during the vulnerable terminal activation phase. Squad members can guard entry points, watch for enemy players, and cover your extraction. Just ensure whoever initiated the quest interacts with the terminal personally to register completion credit.