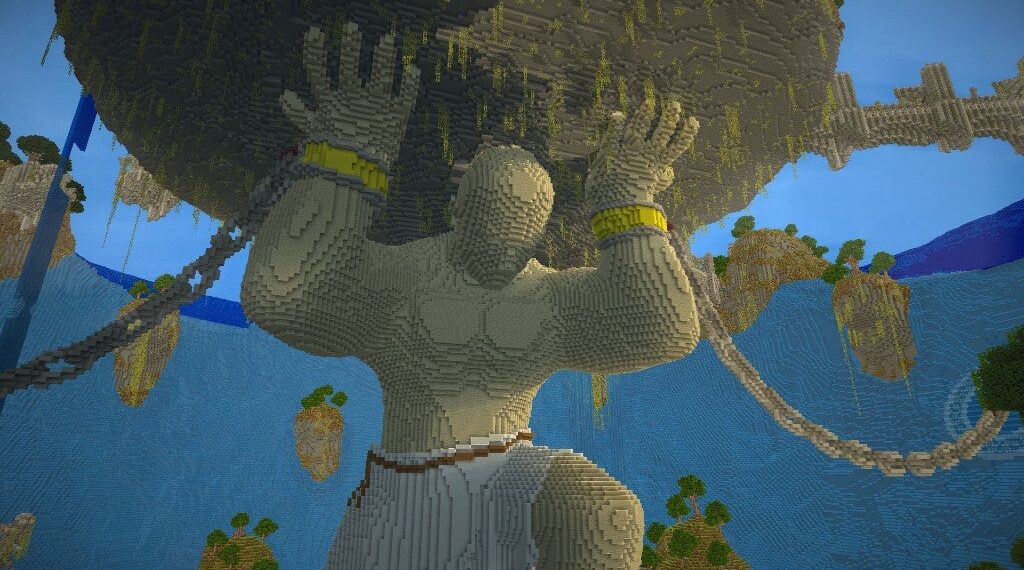
Building impressive statues in Minecraft doesn’t require years of experience or complex redstone knowledge. With the right techniques and materials, any player can create stunning sculptures that enhance their builds and showcase their creativity. Whether you’re decorating a medieval town, adding personality to your base, or creating memorial monuments, these easy statue building methods will elevate your Minecraft world.
The beauty of Minecraft statue building lies in its accessibility – using simple block combinations and basic proportions, you can craft everything from small decorative pieces to grand monuments that rival the greatest builds.
Table of Contents
Minecraft Essential Materials for Easy Statue Builds
Before diving into construction, gathering the right materials makes all the difference between a good statue and a great one. The key is choosing blocks that complement both your design vision and the surrounding environment.
| Material Type | Best Blocks | Usage | Difficulty Level |
|---|---|---|---|
| Stone Variants | Stone, Stone Bricks, Cobblestone | Base structures, classical designs | Beginner |
| Colored Concrete | White, Gray, Black Concrete | Modern statues, clean lines | Easy |
| Wool Blocks | Various colors | Colorful designs, skin tones | Easy |
| Metal Blocks | Iron, Gold, Copper | Armor details, weapons | Intermediate |
| Specialty Blocks | Quartz, Prismarine, Blackstone | Unique textures, highlights | Intermediate |
Simple Statue Building Techniques
The Foundation Method
Start every statue with a solid foundation. Begin by laying down the foundation and work your way up, block by block. It’s helpful to break down the statue into sections and focus on one part at a time. This approach prevents structural issues and helps maintain proportions.
Block-by-Block Construction
The secret to easy statue building is patience and systematic construction. Pay attention to proportions to ensure your statue doesn’t end up looking wonky. Use blocks that closely match the colors and textures of your creation.
Small Statue Designs for Beginners
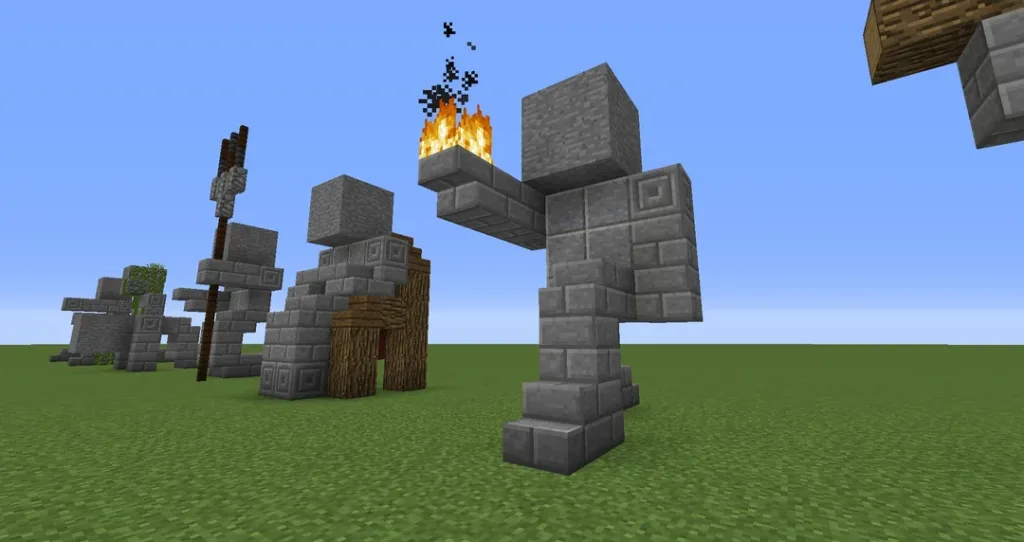
The Grindstone Knight For the first design we will start with a Grindstone. This block makes it look like our statue has small legs. Any block like that or a Cauldron can be used as legs for a small statue. Add a hopper for the torso and an anvil for the chest piece to create a simple armored figure.
Player Statue Proportions Understanding basic player dimensions helps create recognizable humanoid statues. The legs (including feet) is a total of 12 pixels long and 8 wide. The chest is also 12 pixels long and 8 wide. The Arms are 12 pixels long and 4 pixels wide.
Popular Statue Categories
Medieval and Fantasy Statues
Perfect for medieval Minecraft builds, these statues add authenticity to castles, towns, and fantasy environments. Use stone variants and add weathering effects with vines or moss for aged appearances.
Modern Art Sculptures
Contemporary designs work well with concrete blocks and clean geometric shapes. These statues complement modern Minecraft architecture and urban environments.
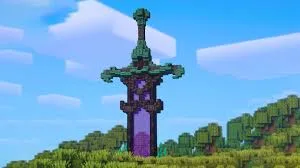
Commemorative Monuments
Honor achievements, fallen players, or significant events with grand statues using precious materials like gold and diamond blocks for special occasions.
Advanced Detailing Techniques
Adding Realistic Elements
Crafting tools and armor can also add details that make your statue stand out. Use item frames, armor stands, and blocks to create weapons, shields, and accessories that bring statues to life.
Weathering and Age Effects
Vines: These are optional blocks that will be used to make the statue look old. Strategic placement of vines, moss, and cracked stone variants creates authentic aging effects.
Lighting and Atmosphere
Incorporate subtle lighting using sea lanterns, glowstone, or lanterns hidden within the structure. Add lights and moss for a more realistic look.
Step-by-Step Building Process
Planning Phase
- Choose your subject – Start with simple designs like basic humanoids or animals
- Select location – Consider surrounding blocks and lighting conditions
- Gather materials – Collect 2-3x more blocks than estimated
Construction Phase
- Build the base – Create a solid foundation 3-5 blocks wide
- Add the torso – Work upward maintaining symmetry
- Attach limbs – Use reference points to keep proportions consistent
- Detail the head – Save facial features for last
Finishing Touches
- Add accessories – Weapons, clothing, or decorative elements
- Apply weathering – Strategic vines or color variation
- Install lighting – Hidden light sources for nighttime appeal
Common Building Mistakes to Avoid
Proportion Problems
Use a reference point to help you keep your design symmetrical. Always step back periodically to check proportions from different angles.
Material Inconsistency
Stick to a cohesive color palette. Mix textures thoughtfully rather than randomly combining different block types.
Weak Foundations
Build a solid base to prevent structural issues. Underground support beams help with larger statues.
Inspiration and Community Resources
The Minecraft building community offers countless statue designs and tutorials. Platforms like Planet Minecraft and GrabCraft provide blueprints and step-by-step guides for builders of all skill levels.
Learning from Others
Study existing statues in your world or online galleries. Notice how experienced builders handle proportions, materials, and details to improve your own techniques.
Integration with Your World
Statues work best when they complement existing builds rather than competing for attention. Consider the architectural style, color scheme, and scale of surrounding structures when planning your sculptures.
Placement Strategy
- Town squares for commemorative monuments
- Garden areas for decorative sculptures
- Building entrances for guardian statues
- Historical sites for cultural monuments
Creating impressive statues in Minecraft is more about patience and planning than technical skill. Remember, patience and creativity are your best tools here! Start with simple designs, master basic techniques, and gradually work toward more complex sculptures as your confidence grows.
The most rewarding aspect of statue building is seeing how these permanent additions transform your Minecraft world, creating focal points and conversation pieces that showcase your creative vision to other players.
Frequently Asked Questions
Q: What’s the best size for a beginner’s first statue in Minecraft?
A: Start with statues that are 5-7 blocks tall. This size is manageable for beginners while still being impressive enough to feel rewarding. You can build recognizable figures without getting overwhelmed by complex details, and material requirements remain reasonable for most players’ resources.
Q: How do I make my statue look more realistic without using complex techniques?
A: Focus on three key areas: proper proportions, appropriate material choices, and strategic detailing. Use blocks that match your subject’s colors, maintain consistent head-to-body ratios (about 1:7 for humanoid figures), and add just 2-3 key details like weapons or clothing rather than trying to include everything. Simple additions like vines for aging or subtle lighting can dramatically improve realism without advanced building skills.

