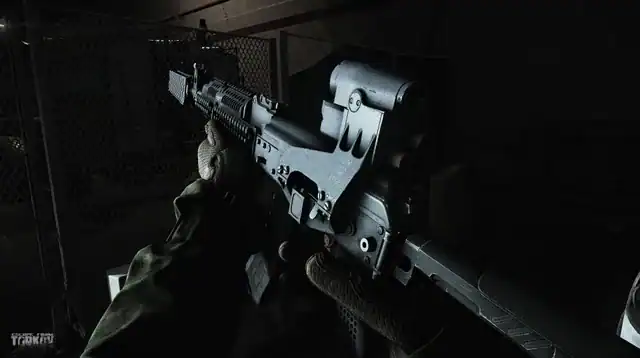
Welcome to your introduction to weapon modding in Escape from Tarkov! Gunsmith Part 1 is your first taste of Mechanic’s infamous quest line, and while it seems straightforward, many new players stumble here. This guide breaks down everything you need to ace this quest and unlock valuable rewards.
Table of Contents
Tarkov Quest Overview: What Mechanic Wants
| Quest Details | Information |
|---|---|
| Quest Giver | Mechanic |
| Level Required | 2 |
| Weapon | MP-133 Shotgun |
| Rewards | +800 EXP, +0.01 Mechanic Rep, 10,000 Roubles |
| Unlocks | Gunsmith Part 2, Special weapon attachments |
| Difficulty | Easy (Beginner-friendly) |
MP-133 Requirements: The Perfect Build

Your modified MP-133 must have more than 47 ergonomics, a laser designator, an extended mag, and less than 850 recoil sum, while being compact at no more than 4 slots. Here’s what this translates to:
Stats Needed:
- Ergonomics: 47 or higher
- Recoil: 850 or less
- Size: Maximum 4 slots
- Magazine: 5+ round capacity
- Durability: Minimum 60
- Tactical Device: Laser or flashlight required
Essential Parts Shopping List
After recent updates, you’ll need these specific attachments:
1. ME Cylinder muzzle adapter – Available from Jaeger LL1 (GK-02 muzzle brake no longer needed post-0.14.0 update)
2. Pistol grip (ME Cylinder 12ga muzzle adapter mount) – Replaces the standard stock, sold by Jaeger LL1
3. Tactical device – Any laser designator like the Zenit Klesch-2U or similar flashlight/laser combo from Skier LL1
Pro Tip: You can obtain a pre-modded MP-133 from Mechanic by trading 2 Elite Pliers and 1 Screwdriver, though you’ll still need to adjust it to meet specifications.
Step-by-Step Modding Process
1. Get Your Base Weapon
Purchase an MP-133 from Jaeger (once unlocked) or find one during raids on Scavs. Ensure durability is above 60—anything less won’t be accepted.
2. Access the Modding Menu
Right-click the MP-133 in your stash and select “Edit Preset.” This opens the weapon modding interface where you’ll see every customizable part.
3. Install Required Parts
Remove the default stock and replace it with the pistol grip from your parts list. Attach the tactical laser device to the available slot. Add the muzzle adapter if using one.
4. Verify Statistics
Click the “Info” icon (bottom left) to check your weapon stats. Double-check that all requirements are met before submission.

5. Submit to Mechanic
Navigate to your Tasks tab, find Gunsmith Part 1, and click “Turn In.” Important: Remove all ammunition from the chamber and magazine first, or Mechanic won’t accept it!
Smart Acquisition Strategies
Flea Market Access – If available, use filters to find specific parts quickly. Prices fluctuate with wipes and updates.
Trader Leveling – Focus on unlocking Jaeger early since he stocks crucial parts for this quest.
Raid Looting – Woods and Shoreline often spawn the tools needed for Mechanic’s weapon barter.
Why This Quest Matters
Gunsmith Part 1 isn’t just about 800 XP—it’s your gateway to understanding Tarkov’s intricate weapon modding system. The quest kicks off a long line of Gunsmith tasks, each one getting more complex but offering solid rewards, teaching you how weapon modifications affect performance in raids.
For more Tarkov quest guides and gameplay tips, explore TechnoSports and check our FPS gaming section for comprehensive coverage.
Common Mistakes to Avoid
Wrong durability – Always verify the weapon is above 60 durability before starting modifications
Loaded weapon – The most common failure! Empty the gun completely before submission
Missing requirements – Double-check ALL stats; even missing one parameter means rejection
Over-modding – Adding unnecessary parts can push you over the 4-slot size limit
Visit the official Escape from Tarkov Wiki for additional configuration examples and stay updated on quest changes.
FAQs
Q: Can I complete Gunsmith Part 1 without accessing the Flea Market?
Yes! Gunsmith Part 1 is specifically designed as the only quest in the entire series completable without Flea Market access. All necessary parts can be purchased from Jaeger and Skier at low loyalty levels or found during raids on Woods and Shoreline. This makes it perfect for new players still working toward level 15.
Q: What happens if I accidentally sell or lose the modded MP-133 before turning it in?
You’ll need to build another one from scratch. The quest doesn’t track specific weapon IDs—it only checks if you have an MP-133 meeting the exact specifications when you attempt to turn it in. Keep your quest weapon in a separate stash section to avoid accidental sales or taking it into raids where you might lose it.


