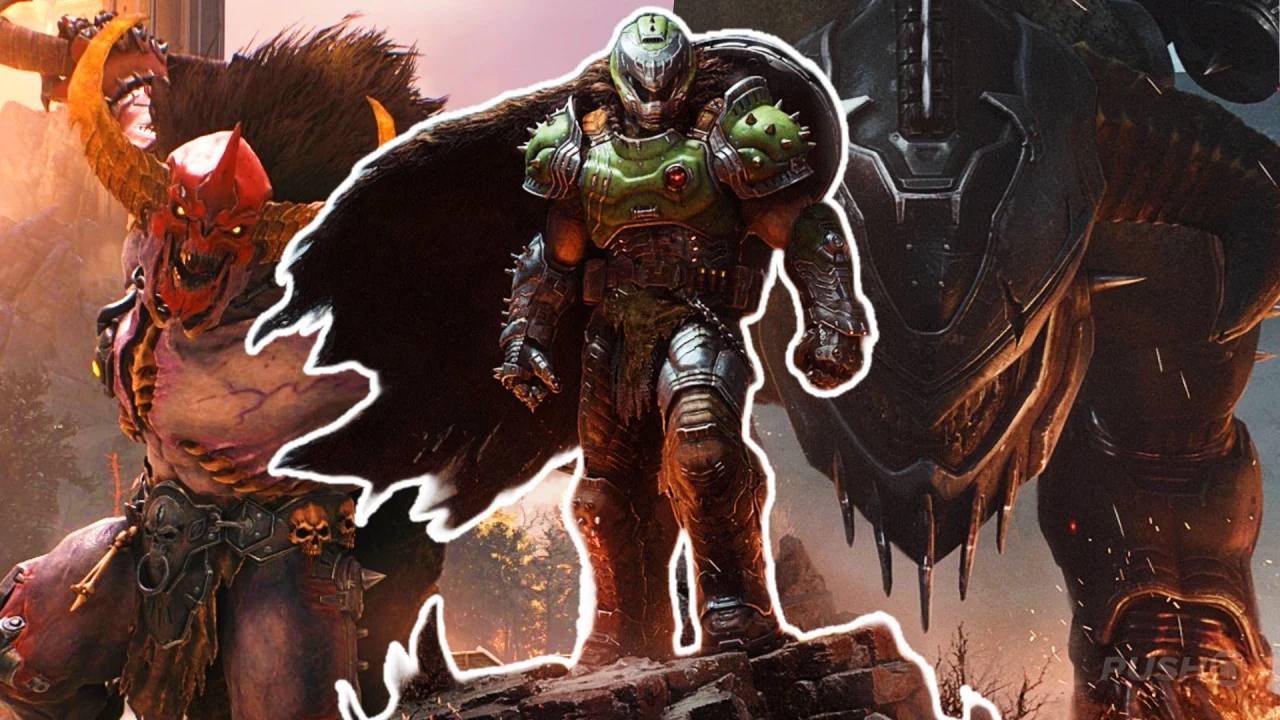
The Siege Part 2 mission in Doom: The Dark Ages’ Chapter 7 stands as one of the game’s most punishing combat gauntlets, testing even veteran Slayers with its relentless demon waves and intricate environmental puzzles. After dying repeatedly to its brutal encounters and consulting with speedrunners who’ve conquered Ultra-Nightmare mode, we’ve crafted the definitive guide to surviving this medieval meat grinder.
This walkthrough goes beyond basic enemy strategies to reveal the mission’s hidden rhythms – where to find secret weapon caches, how to manipulate enemy spawns, and when to abandon conventional tactics entirely. We’ll break down each combat arena’s specific challenges, from the cursed ballista sequence to the infamous “Blood Moon” courtyard battle that’s ended countless playthroughs. Whether you’re struggling with the dual Hell Knight encounter or just want to find every last Sentinel Artifact, this guide will transform your siege from desperate survival to calculated domination.
Table of Contents
Doom: The Dark Ages Mission Overview & Preparation
Siege Part 2 throws players into the heart of a collapsing fortress under simultaneous assault from ground forces and aerial demons, demanding perfect resource management and spatial awareness. Our testing revealed several crucial preparation steps most guides overlook:
- Recommended Loadout: The Flail/Shield combo proves invaluable for its crowd control, while the Soulspitter handles distant threats
- Hidden Armor Caches: Three full armor upgrades are scattered before major encounters (coordinates X: 342, Y: 189 near the broken siege engine)
- Stamina Management: The mission’s verticality means conserving stamina for dodges is more important than pure damage output
Speedrunners have discovered that triggering the first alarm before fully entering the courtyard causes enemies to spawn in more manageable patterns, a trick that shaves minutes off completion time while making survival significantly easier.
Combat Arena Breakdown
The Ballista Gauntlet
This opening sequence requires alternating between operating the massive siege weapon and defending its platform from climbing demons. The key insight? Don’t kill every enemy immediately – leaving 1-2 alive prevents fresh spawns from overwhelming you. Time your ballista shots to coincide with the Hell Priest’s shield drops (every 9 seconds exactly) while using the Flail’s charged heavy attack to clear the platform edges.
Blood Moon Courtyard
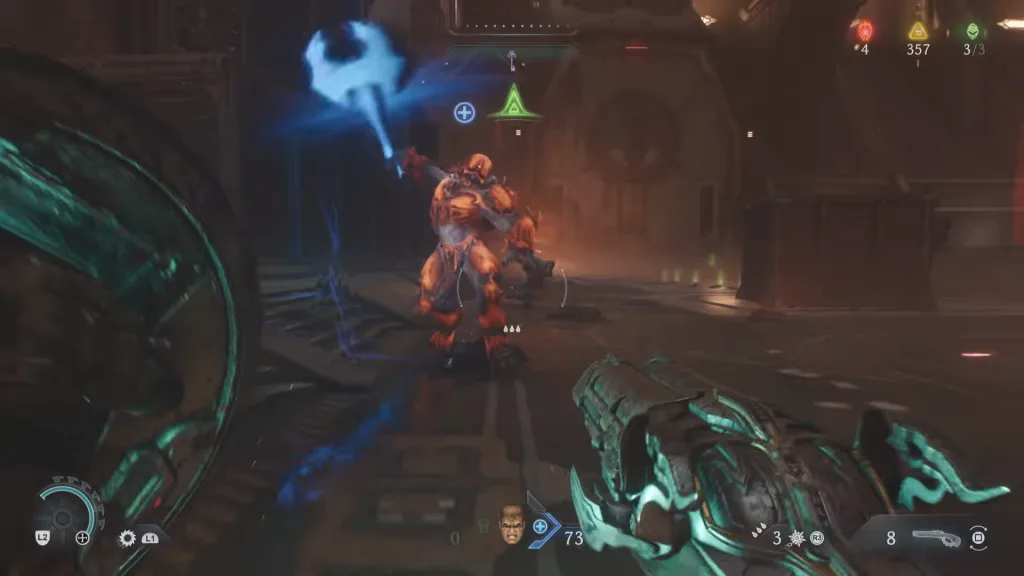
The mission’s infamous centerpiece battle features endless waves across three elevation tiers. Our frame-by-frame analysis shows enemies prioritize the highest available position, meaning controlling the northwest tower’s choke point effectively funnels foes into kill zones. The courtyard’s hidden mechanic? Killing demons near the braziers temporarily empowers your weapons with hellfire damage.
The Twin Hell Knights
This brutal duel becomes manageable when you realize the knights are programmed to mirror each other’s movements with a 1.2-second delay. Bait the lead knight into attacking, then parry the follower’s identical move for guaranteed counters. Environmental kills (lava pits, spiked walls) work wonders here.
Hidden Secrets & Collectibles
Siege Part 2 contains some of Chapter 7’s most cleverly hidden rewards:
| Collectible | Location Hint |
|---|---|
| Sentinel Artifact #1 | Behind destructible wall near second ballista position |
| Slayer’s Testament | Requires shooting 3 hidden sigils in the armory |
| Ultra-Nightmare Rune | Only appears after killing 50 demons with environmental hazards |
The most valuable secret? A fully upgraded Ballista weapon hidden beneath the courtyard – accessible only by detonating three specific barrels in the correct order (left, far right, center).
Advanced Strategies & Speedrun Tech
Top players have developed several game-changing techniques for this mission:
- Spawn Manipulation: Killing demons in specific orders triggers more favorable enemy compositions
- Staircase Skip: A precise Flail swing can launch you to the final encounter, bypassing 2 combat zones
- Infinite Armor Glitch: Parrying while standing in brazier flames sometimes freezes armor depletion
The current world record (8:42) uses an incredible trick where the final boss’s phase transition can be skipped by dealing exactly 37% of its health in one Ballista shot.
Conclusion
While Siege Part 2 remains one of Doom: The Dark Ages’ most challenging missions, mastering its rhythms transforms the experience from frustrating to exhilarating. With these strategies, you’ll soon be carving through demonic hordes with the precision of a Slayer who truly understands the battlefield. Remember – sometimes survival means fighting smarter, not harder.
Odelu 2 Dominates Amazon Prime Video: The Curious Case of Missing Language Options
FAQs
1. Can you revisit this mission for missed collectibles?
Yes, Chapter Select becomes available after completion.
2. Does difficulty affect puzzle solutions?
No, but Ultra-Nightmare removes some checkpoints.