The Esoteric Ruins in Clair Obscur: Expedition 33 represent one of the game’s most challenging and visually stunning chapters, where ancient mysteries and deadly puzzles test even veteran players. As you guide your expedition team through these crumbling arcane halls, you’ll encounter mind-bending light-and-shadow puzzles, uncover fragments of a forgotten civilization’s history, and face off against guardians who have protected these secrets for centuries. This walkthrough provides everything you need to navigate the ruins successfully, from step-by-step puzzle solutions to optimal team compositions for the area’s unique challenges.
What makes the Esoteric Ruins particularly memorable is how they blend environmental storytelling with gameplay – every cracked mural and strange artifact tells part of the story, while the puzzles themselves reflect the esoteric philosophies of the civilization that built them. Whether you’re struggling with the Chamber of Refracted Truth or dreading the confrontation with the Keeper of Forgotten Names, this guide will help you emerge victorious while ensuring you don’t miss any of the area’s well-hidden secrets and powerful upgrades.
Table of Contents
Entering the Ruins: First Steps and Initial Puzzles
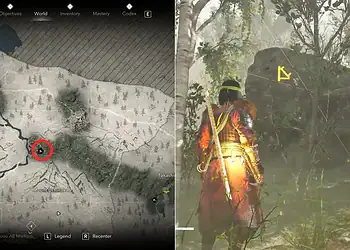
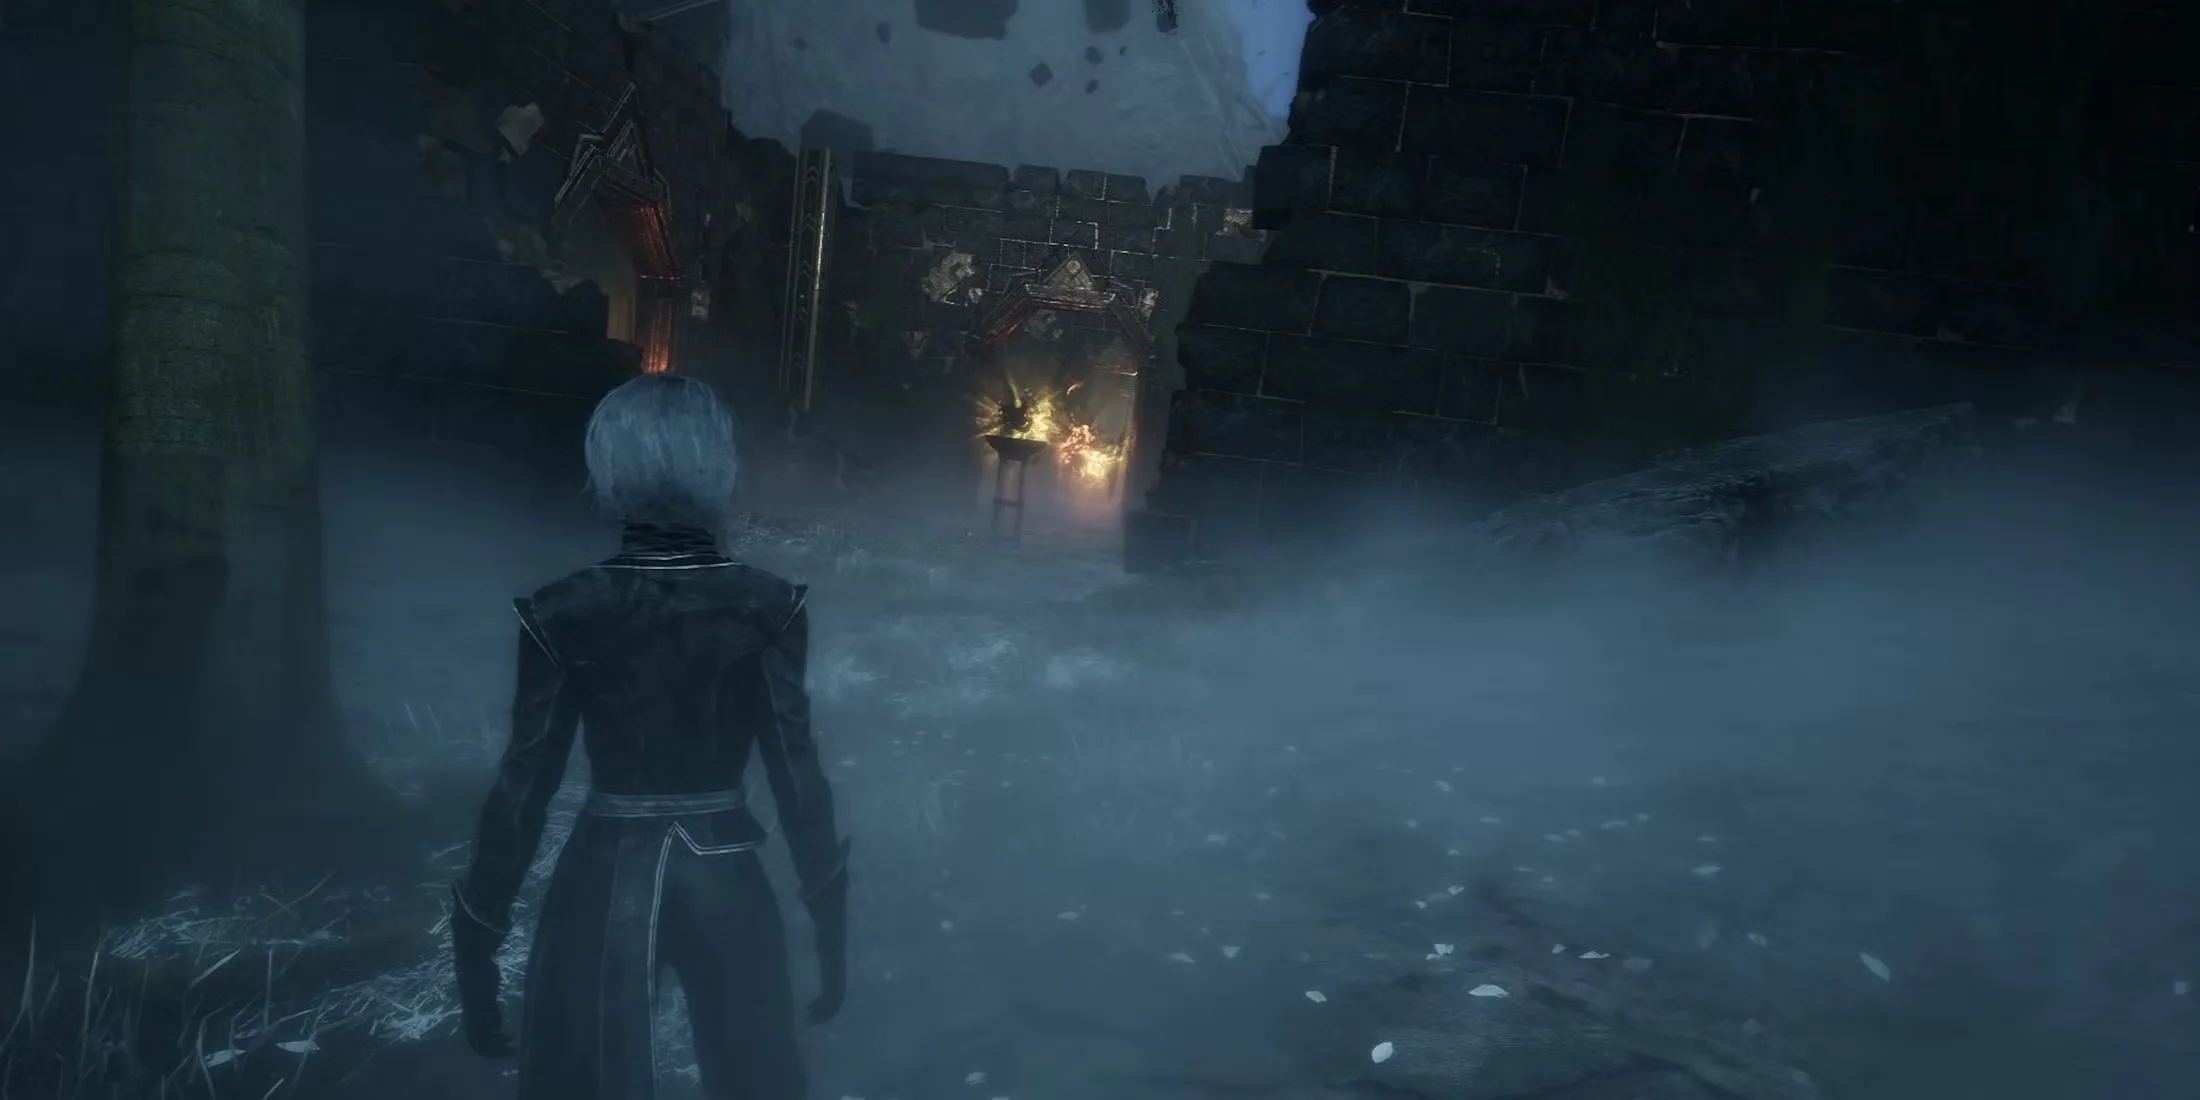
Your journey through the Esoteric Ruins begins after surviving the treacherous ascent up the Cliffs of Revelation, where the massive stone archway marks the transition from natural danger to constructed mystery. The entry chamber immediately introduces the ruin’s core mechanic – manipulating beams of colored light to activate ancient mechanisms. Use your lantern’s prism function to split the initial white light into its spectral components, then position the red beam to ignite the brazier on the western wall. This first puzzle teaches the essential rule: different light colors interact with specific materials – red for fire, blue for water, and green for growth.

The second chamber presents a more complex challenge with moving mirrors that must be angled to carry light across gaps. Time your adjustments carefully as the mirrors rotate on a set cycle – patience here is key. Veteran players recommend assigning one team member to mirror duty while others stand ready to defend against the spectral sentries that activate after each successful light alignment. Don’t miss the hidden compartment behind the central statue (activated by shining green light on its eyes) containing the useful Tarnished Compass relic that helps track undiscovered secrets.
Navigating the Hall of Whispering Shadows
The true test begins in the Hall of Whispering Shadows, where the ruins start playing tricks with perception. The shifting walls and floating platforms require precise jumps timed with the chamber’s strange breathing rhythm – listen for the deep hum that signals when pathways are most stable. This area introduces shadow clones of your party that must be used to solve weight-based puzzles; position your real team and their doppelgängers on marked pressure plates simultaneously to unlock the path forward.
Combat here takes a surreal turn as well, with enemies that exist partially in shadow. The game-changing strategy is to use your lantern’s flare ability to solidify them for attacks – time this with your heavy hitters’ cooldowns for maximum efficiency. Halfway through the hall, you’ll encounter the first major decision point: take the upper path for a challenging platforming sequence that rewards the Lens of True Sight (reveals hidden messages), or the lower route with more combat but access to the powerful Umbral Dagger. Your choice should depend on whether your team needs the offensive boost or the exploration advantage more.
The Chamber of Refracted Truth: Light Puzzle Solutions
The infamous Chamber of Refracted Truth has stumped many explorers with its seven-prism challenge requiring perfect light alignment across multiple planes. Here’s the step-by-step solution: First, activate the central crystal to release the base light beam. Rotate the first prism 135 degrees clockwise to split the beam toward the northern receiver. Adjust the second prism to 90 degrees, sending light to the western glyph. The tricky part comes with the eastern path – the third prism needs precisely 72 degrees to hit the intermediary reflector, which then requires manual alignment to bounce toward the final receiver.
Time your movements carefully as incorrect alignments summon increasingly difficult waves of Lightborn Defilers. If struggling, consider having one character focus solely on prism duty while others defend. Success rewards access to the Chamber’s inner sanctum where the powerful Luminos Codex awaits – this artifact permanently enhances your lantern’s capabilities, making subsequent light puzzles significantly easier to solve.

Confronting the Keeper of Forgotten Names
The ruins’ guardian, the Keeper of Forgotten Names, presents a multi-phase boss fight that tests everything you’ve learned. Phase one focuses on its material form – dodge the sweeping staff attacks and counter when it channels energy (visible as purple wisps gathering around its hands). The game-changing strategy comes in phase two when the Keeper shifts between light and shadow realms – only attacks matching the current realm’s alignment deal damage. Time your lantern pulses to temporarily synchronize all party members with the Keeper’s plane.
The final phase introduces name fragments that must be collected and arranged to weaken the boss. Assign your fastest member to gathering while others defend – the correct sequence is etched on the chamber walls (typically: Dusk, Eclipse, Veil, Obscura). With each correct name, the Keeper’s defenses drop dramatically. Victory rewards the coveted Seal of the Unseen, unlocking previously inaccessible areas throughout the ruins.
Conclusion: Mastering the Mysteries
The Esoteric Ruins represent Clair Obscur: Expedition 33 at its best – challenging yet fair, mysterious yet rewarding. With this walkthrough, you’re now equipped to solve its clever puzzles, uncover its hidden lore, and defeat its formidable guardians. Remember that the ruins are designed to teach as they test – each solution you discover makes you a better explorer for the challenges ahead. The knowledge gained here will prove invaluable as your expedition continues into even more dangerous territories. Now go forth – greater mysteries await beyond the crumbling arches.
EA FC25 Immortality League: Unlock 92-Rated Paolo Maldini in Ultimate Team
FAQs
1. What’s the best team composition for the Esoteric Ruins?
A balanced team with at least one light-focused character (for puzzles), a mobile fighter (for platforming), and a scholar-type (to translate runes) is ideal.
2. Can I return to the ruins after completing Expedition 33?
Yes, new paths and secrets become available after obtaining certain relics later in the game.