Weapon crafting and upgrading form the backbone of survival in Arc Raiders. Whether you’re facing hostile AI or rival players in Embark Studios’ extraction shooter, having properly upgraded firearms can mean the difference between extraction success and losing everything. This comprehensive guide walks you through unlocking the Gunsmith workstation, crafting new weapons, and upgrading your arsenal to maximum tier.
Table of Contents
Why Weapon Crafting Matters in Arc Raiders
Unlike traditional shooters where you simply find weapons, Arc Raiders requires strategic resource management to craft and upgrade your gear. Each weapon has multiple tiers indicated by Roman numerals (I, II, III, etc.), with higher tiers offering superior stats and performance. Mastering this system early accelerates your progression significantly.
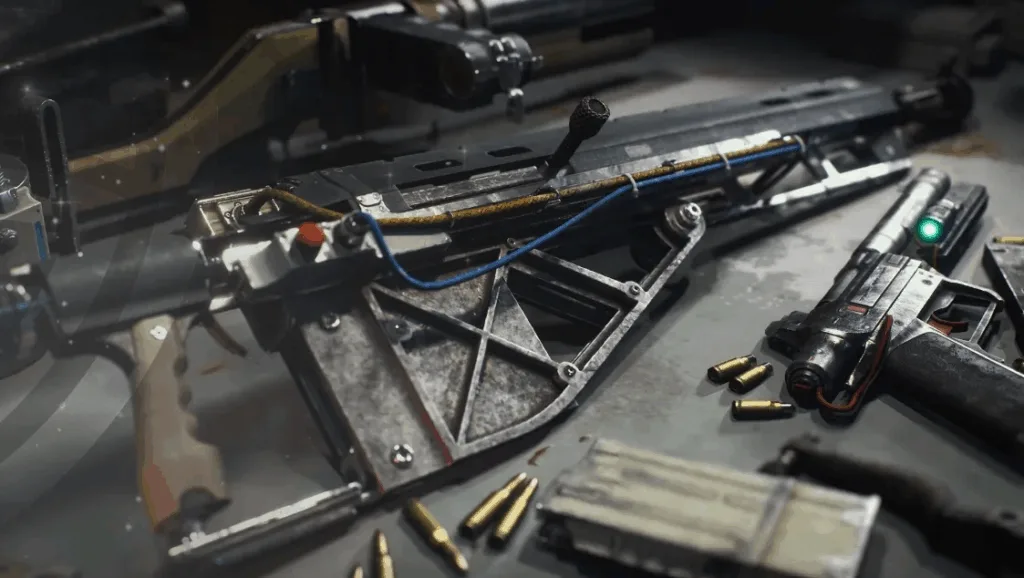
Unlocking the Gunsmith Workstation
Before crafting or upgrading anything, you must unlock the Gunsmith 1 workstation—your gateway to weapon customization.
Gunsmith 1 Requirements
| Resource | Quantity Needed | Where to Find |
|---|---|---|
| Metal Parts | 20 | Enemy loot, salvaged components |
| Rubber Parts | 30 | Mechanical components, containers |
How to Unlock Gunsmith 1:
- Open Arc Raiders and access the Main Menu (ESC on PC)
- Navigate to the Workshop tab
- Select Gunsmith 1 from available workstations
- Confirm you have 20 Metal Parts and 30 Rubber Parts
- Click Unlock to activate the workstation
Once unlocked, the Gunsmith becomes your crafting hub for all weapon modifications. For detailed resource farming strategies, check our Arc Raiders materials guide.

How to Craft Weapons: Complete Process
Crafting allows you to create new weapons from scratch using gathered resources. Each weapon has unique material requirements, making resource management crucial.
Step-by-Step Crafting Guide:
| Step | Action | Details |
|---|---|---|
| 1 | Open Workshop | Main Menu > Workshop |
| 2 | Access Crafting Tab | Located next to Upgrades |
| 3 | Select Weapon | Choose desired weapon from list |
| 4 | Check Requirements | Note required materials and quantities |
| 5 | Confirm Craft | Click “Craft” if materials are available |
Critical Tip: You must successfully extract resources from raids to use them for crafting. Dying before extraction means losing all gathered materials, so prioritize safe extraction over risky engagements.
Two Methods to Upgrade Weapons
Upgrading existing weapons improves their stats and effectiveness. Arc Raiders offers two convenient methods for weapon upgrades.
Method 1: Workshop Upgrade Tab
- Navigate to Main Menu > Workshop
- Click the Upgrade tab (beside Crafting)
- Select the weapon to upgrade
- Review material costs
- Confirm upgrade if resources are available
Method 2: Direct Inventory Upgrade (Faster)
- Open your Inventory (Tab on PC)
- Locate the weapon you want to upgrade
- Right-click the weapon (PC) or use controller equivalent
- Select “Upgrade” from the context menu
- Confirm the upgrade
Example: Upgrading a Ferro I to Ferro II requires 7 Metal Parts. Higher tier upgrades demand increasingly rare materials.
Understanding Weapon Tiers
Arc Raiders uses Roman numerals to indicate weapon tiers:
- Tier I: Base level, lowest stats
- Tier II: Improved damage and handling
- Tier III+: Superior performance, rare materials required
Check weapon names carefully—”Ferro I” versus “Ferro III” represents significant stat differences. For competitive loadout builds, visit the official Arc Raiders community hub.
Resource Gathering Strategy
Efficient crafting and upgrading requires consistent resource collection:
Primary Resource Sources:
- Enemy loot drops (Metal Parts, Rubber Parts)
- Salvaging mechanical components at tech zones
- Container looting in high-risk areas
- Recycling unwanted equipment
Pro Tip: Prioritize Metal Parts early—they’re required for both Gunsmith unlocking and most weapon upgrades. For comprehensive salvaging locations, explore our Arc Raiders scavenging guide.
Crafting vs Upgrading: Which to Prioritize?
| Aspect | Crafting | Upgrading |
|---|---|---|
| Resource Cost | Higher initial investment | Incremental costs per tier |
| Best For | Obtaining new weapon types | Improving existing favorites |
| Flexibility | Access entire weapon roster | Limited to owned weapons |
Recommendation: Focus on upgrading your preferred weapon to Tier II or III before diversifying through crafting. This ensures reliable firepower for contested extraction points.
Advanced Crafting Tips
- Track Materials: Monitor your inventory before raids to identify needed resources
- Safe Extraction: Avoid unnecessary fights when carrying valuable crafting materials
- Tier Planning: Calculate total materials needed for maximum tier upgrades
- Meta Weapons: Prioritize upgrading weapons that fit current meta strategies
For more extraction shooter tactics and Arc Raiders updates, visit TechnoSports.
Frequently Asked Questions
What’s the Minimum Level Required to Unlock Gunsmith in Arc Raiders?
There’s no level requirement for unlocking Gunsmith 1—only resource requirements. You need 20 Metal Parts and 30 Rubber Parts, which can be gathered during your first few raids. Focus on looting enemies and salvaging mechanical components to accumulate these materials quickly. Once unlocked, the Gunsmith workstation remains available permanently for all crafting and upgrading needs.
Do Weapon Upgrades Carry Over Between Raids in Arc Raiders?
Yes, weapon upgrades are permanent and persist across all raids. Once you upgrade a weapon from Tier I to Tier II (or higher), that weapon retains its improved stats indefinitely—even if you die during a raid. However, if you lose the weapon itself by failing to extract, you’ll need to craft or find a replacement. Always insure valuable high-tier weapons to minimize losses.