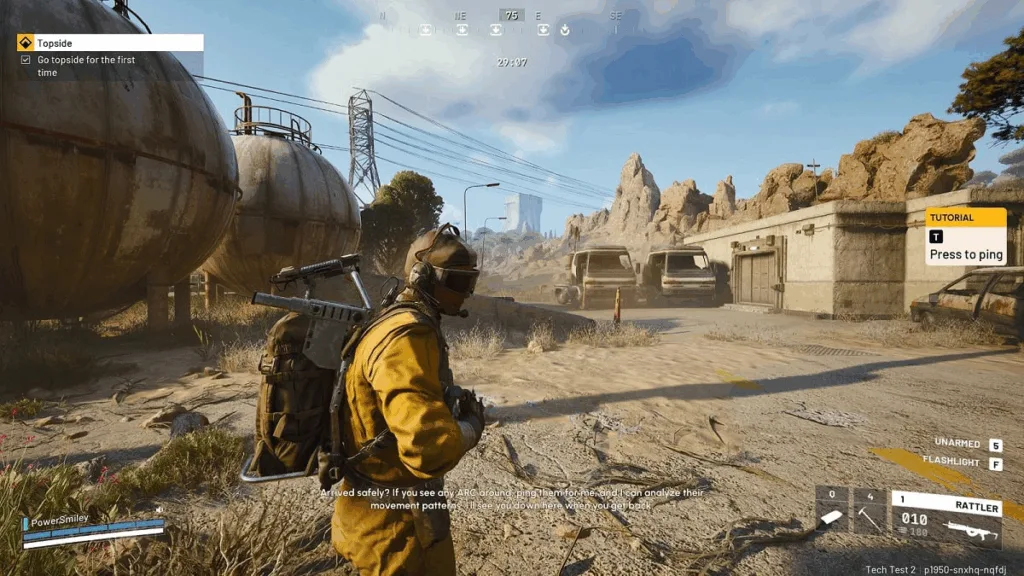
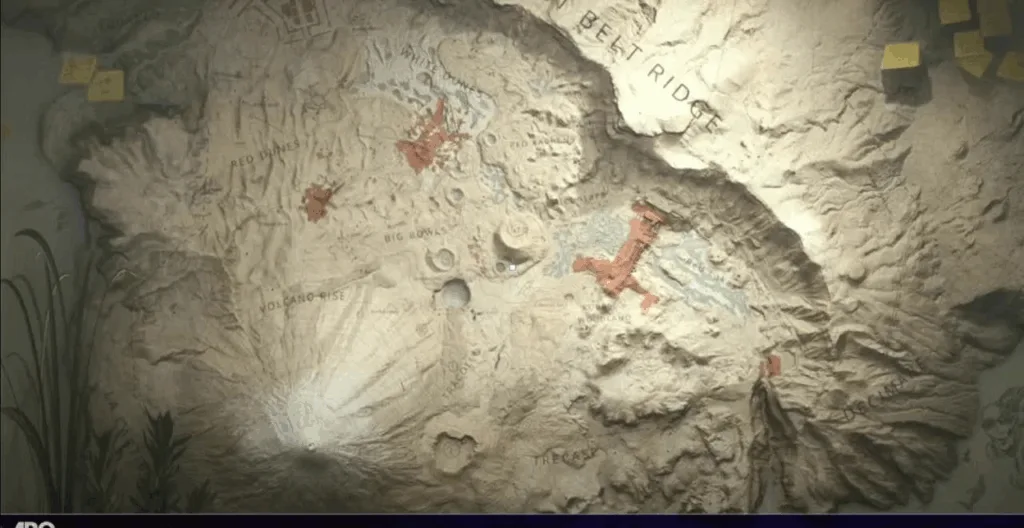
Arc Raiders‘ first major event has arrived with the North Line update, and the Locked Gate challenge on Blue Gate map is creating chaos across lobbies. This limited-time map condition requires players to hunt down four security keycards, unlock a fortified central gate, and claim high-value loot while surviving hostile Raiders and aggressive ARC enemies.
Here’s your complete survival guide to mastering this 40-minute pressure cooker event.
Table of Contents
Arc Raiders Locked Gate Event Quick Facts
| Detail | Information |
|---|---|
| Map | Blue Gate |
| Event Type | Major Map Condition |
| Match Duration | 40 minutes |
| Trials Progress | 2X multiplier |
| Required Items | 4 Security Keycards |
| Restrictions | No Raider Hatches, Blocked Underground Tunnels |
| Reward | High-tier loot at Checkpoint gate |
| Availability | Limited-time rotation |
Step 1: Find the Gate Control Room
Location: Warehouse Complex POI (southern end)
Map Position: Center-north section of Blue Gate, directly above Checkpoint
Visual Marker: Blue building atop the Checkpoint gate structure, yellow border (medium loot zone)

Head inside and locate four computer terminals with white interaction prompts. These computers reveal the exact POI locations where the four security keycards have spawned for your current match.
Critical Intel: Keycard locations randomize each session, so you can’t memorize spawn points. Always check the Control Room computers first.
Step 2: Collect Four Security Keycards
After checking the terminals, you’ll see POI names indicating keycard locations. Common spawn areas include:
- Pilgrim’s Peak (mountainous northern region)
- Various marked POIs across Blue Gate
- Container-heavy zones at map edges
- Outskirts locations requiring travel time
Search Strategy:
- Check every container, locker, and lootable object thoroughly
- Keycards aren’t always obvious – systematic searching is essential
- Bring utility items like ziplines for hard-to-reach areas
- Expect 5-10 minutes per location depending on map knowledge
Step 3: Survive the Gauntlet
The Locked Gate event attracts danger from two fronts:
ARC Enemies: Rocketeers, Snitches, Wasps, and Hornets patrol keycard locations aggressively. Be prepared for combat at every stop.
Hostile Raiders: The entire lobby competes for the same four keycards. Hardcore players won’t hesitate to eliminate you for easy loot. Watch your back constantly.
Cooperation vs. Competition: Some Raiders form temporary alliances to collect keycards faster, while others hunt solo players. Read the situation carefully before trusting strangers.\

Step 4: Return and Unlock the Gate
Once you’ve secured all four keycards (or teammates/other Raiders have), return to the Gate Control Room. Input each keycard into its designated computer terminal – you’ll see matching white key icons on consoles on both sides of the room.
Gate Opens: After the fourth keycard is entered by anyone in the server, the central Checkpoint gate unlocks for all players.
Step 5: Claim Rewards (Carefully!)
Gate Location: Center of Blue Gate map at Checkpoint POI
The unlocked gate contains valuable Epic and Legendary loot, but this is where things get deadly:
Ambush Central: Other Raiders know exactly where you’ll be. Expect campers waiting for easy kills.
Exit Strategy: Have your extraction plan ready before entering. Don’t get greedy – grab loot and extract immediately.
Team Advantage: Squads can post guards while looting, giving significant survival advantage over solos.
Why This Event Matters
Emergency Shutdown Protocol: A mysterious group has activated restrictions that:
- Deny access to Raider Hatches (fewer respawn options)
- Block underground tunnel entries (restricted map movement)
- Reduce available Return Points (extraction bottlenecks)
Double Progression: Major map conditions grant 2X Trials progress, making this incredibly efficient for leveling.
Limited Availability: Locked Gate rotates with other events, so opportunities are finite. Complete it when available.
For comprehensive Arc Raiders event guides and extraction shooter strategies, explore our gaming hub. Download Arc Raiders free on Steam.
Pro Survival Tips
Free Loadout First: Use basic gear when learning the event. Losing premium equipment to ambushes or ARC enemies hurts progression.
Time Management: 40-minute matches provide ample time, but inefficient routing wastes opportunities. Plan your keycard collection route before departing Control Room.
Solo Players: Consider joining random teams or forming temporary alliances. Going solo significantly increases death risk.
Communication Pays: Proximity chat helps coordinate with non-hostile players. Many prefer cooperation over combat during events.
FAQs
Can multiple players input the same keycard at the Gate Control Room?
No, only one instance of each specific keycard is needed to unlock the gate. Once any player in the server inputs a particular keycard into its designated terminal, that code is “used” for everyone. This creates interesting dynamics where teams can split up keycard collection – one player finds Code A while another gets Code B, then they meet at Control Room to input them. However, this also means hostile players can steal your collected keycards if they eliminate you before you reach the Control Room.
What happens if I die while carrying keycards in the Locked Gate event?
If you’re eliminated while carrying keycards, they drop with your loot and become available for any player to pick up – including the person who killed you. This is why the event creates such intense PvP moments, especially near the Gate Control Room. Hostile Raiders can camp popular keycard spawn locations, eliminate players who’ve done the searching work, steal their codes, and complete the event themselves. Always approach the Control Room cautiously and consider hiding keycards in your secure container if you have one available.


