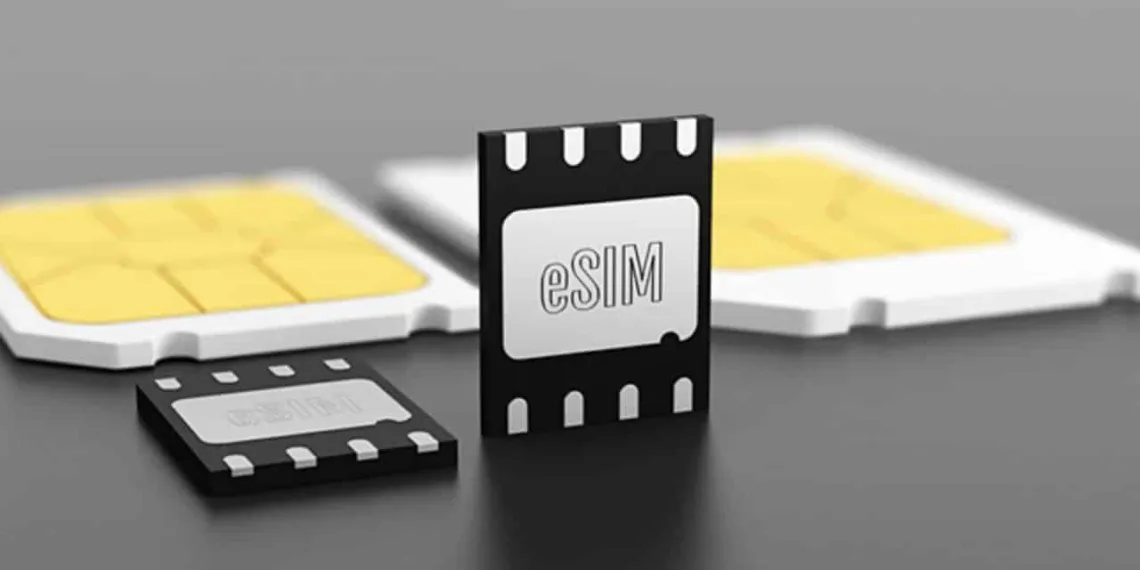
Most of us are well familiar with physical SIM. But for some specific devices, electronic SIM or eSIM becomes important as it doesn’t need any dedicated slot to install. There are a few devices in the market at present compatible with eSIM. The list contains Pixel devices, Motorola Razr series, iPhones, some smartwatches, and more. If you have any of the eSIM compatible devices and also a Jio user, you can easily replace your Jio physical SIM with Jio eSIM by following some easy steps.
To know if your device is eSIM compatible or not visit Jio’s official website (jio.com), type “esim handset” in the search window, and search. Go to the “Which Handset Models have eSIM capability?” to get the compatible device list.
Now, the process begins.
- Step 1: Send SMS GETESIM <32 digit EID number> <15 digit IMEI number> to 199 from your Jio number.
[to can find the EID and IMEI number in Settings option]
- Step 2: You will receive an eSIM Activation number and configuration details via SMS once you follow Step 1. [Note: never delete this SMS]
- Step 3: Send SMS SIMCHG <19 digit eSIM number> to 199 from your Jio number
- Step 4: An update on processing will be shared with you via SMS in the next 2 hours. After receiving this SMS, replay 1 to 183 via SMS.
- Step 5: A auto-generated call will come asking for the 19 digit eSIM number. Provide the number correctly. Once done, you will receive a confirmation message for the activation of your new eSIM. [Note: your physical SIM will stop working after this step]
- Step 6: Connect your device with Wi-Fi or mobile hotspot for the final configuration
- For iOS – Go to Settings >> Mobile Data >> Add Data Plan >> Select “Jio New Data Plan” >> Add Data Plan >> Sellect the Data Plan Addition in Progress option in the top right (⚙️) >> Continue [Note: Never select “Remove Data Plan”. It will remove the eSIM permanently]
- For Samsung Devices – Settings >> Connections >> SIM Card Manager >> Add Mobile Plan >> Scan carrier QR code >> Enter code instead >> Enter the eSIM activation code you received via SMS [Follow this format – LPA:1$smdprd.jio.com$Activation number] >> Connect
- For Motorola Devices – Settings >> Network and Internet >> Mobile Network >> Download a SIM instead? >> Next >> Need Help? >> Enter it manually (option) >> Enter the eSIM activation code here following the mentioned format [Format – LPA:1$smdprd.jio.com$Activation number] >> Activate >> Done
Your eSIM Activation process is completed now. Enjoy the services. The entire process you have to complete within 6 days from start. Otherwise, the application will be auto-canceled on the 7th day. The process also can be canceled if you put the eSIM activation number wrong. So, be careful about that.
You can also watch the official video for better clarification.


