The Silent Witnesses quest in Kingdom Come Deliverance 2’s Mysteria Ecclesiae DLC throws you into a quarantined monastery where plague and conspiracy intertwine. As Henry investigates the mysterious illness spreading through Sedletz, you’ll uncover secrets buried beneath the church. Here’s your streamlined walkthrough.
Table of Contents
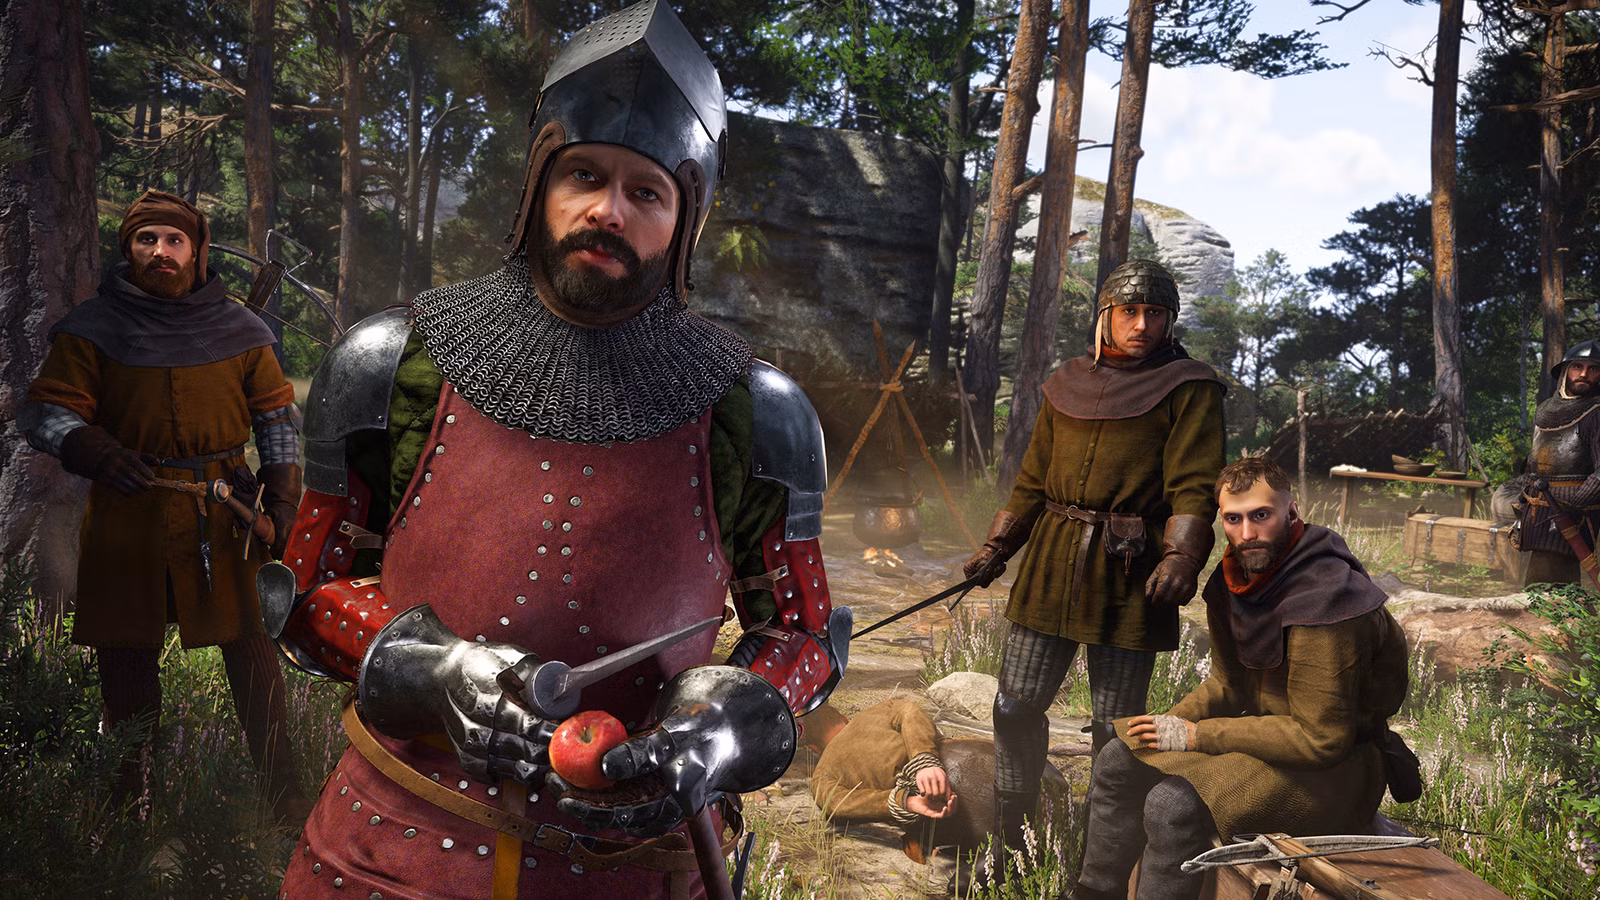
Kingdom Come Deliverance 2: Overview at a Glance
| Quest Details | Information |
|---|---|
| Quest Type | Main Story (Mysteria Ecclesiae DLC) |
| Prerequisites | Complete Anamnesis quest |
| Recommended Level | Moderate combat/stealth skills |
| Key Items Needed | 2x Schnapps, Lockpick, Plague Mask (optional) |
| Estimated Time | 25-35 minutes |
| Stealth vs Combat | Both paths available |
Step-by-Step Walkthrough

1. Talk to Workers Outside the Church
Critical Tip: Before starting, grab Schnapps from the infirmary cabinet—you’ll need two bottles for smooth progression.
Head north to the workers’ camp. Distract the guard by throwing a rock near him, then slip past to reach workman Loyza. Choose these dialogue options:
- “Scratch my back…” (Avoid reputation-damaging choices)
- “Look what I’ve got” (Give him 2 Schnapps)
Ask all available questions about the church and crypt to gather intel. This information becomes crucial for understanding the DLC’s overarching mystery.
2. Search Workers’ Belongings
| Task | Location | Required Skill |
|---|---|---|
| Find locked chest | Outside church wall | Lockpicking |
| Loot golden crucifix | Inside chest | None |
The chest sits near the workers’ camp exterior. Use your lockpick to open it and retrieve the golden crucifix—essential evidence for later.
3. Navigate Into the Crypt
Route: Southeast from workers’ camp → Ladder → Church interior → Distract worker → Descend through collapsed floor
Inside the church, wait for two workers to finish talking. When one leaves, throw a rock to distract the remaining guard. Quickly move to the collapsed floor opening and take the ladder down.
Pro Stealth Tip: Crouch while moving past the distracted worker to minimize detection risk.
4. Investigate the Crypt
Once inside, complete these objectives:
- Examine the tomb thoroughly
- Collect the filthy parchment (main quest item)
- Optional: Grab the hunting sword behind a tomb
Health Warning: Without the plague mask from the Prevention task, you’ll contract sickness here. Complete Prevention first if possible.

5. Escape the Crypt (Two Methods)
| Method | Difficulty | Recommended For |
|---|---|---|
| Wall Demolition | Easy | Stealth players |
| Main Door Combat | Hard | Combat-focused builds |
Stealth Route: Dismantle the weak wall section to access the crypt entrance, then climb the ladder quietly.
Combat Route: Lockpick the main door and defeat three workers. The hunting sword you found earlier makes this manageable.
Exit through the western church door after ascending.
6. Return to Albich
Fast Travel Trick: Get intentionally caught by guards and select “Take me away” to teleport directly to the infirmary.
Find Albich in the back room. During conversation, choose:
- “What are you talking about?”
- “Who could’ve done it?”
7. Investigate the Looted Room
Inspect the scattered items in the southeast corner and examine the door lock. Both provide crucial clues about the break-in.
8. Question Witnesses
Talk to Denes and Benedict in the infirmary:
- Denes: Ask if anyone entered your room
- Benedict: Inquire about unusual activity
9. Report to Albich
Return to your room and brief Albich on your findings. This concludes Silent Witnesses and triggers the To Dust You Shan’t Return quest.
Essential Items Checklist
✅ 2x Schnapps (infirmary cabinet)
✅ Lockpick (standard inventory)
✅ Plague Mask (complete Prevention task)
✅ Torch (for crypt visibility)
Rewards & Next Steps
Completing Silent Witnesses advances the Mysteria Ecclesiae storyline while unlocking investigation mechanics crucial for remaining DLC content. The evidence you collect directly impacts future quest outcomes.
Frequently Asked Questions
What happens if I don’t wear the plague mask in the crypt?
You’ll contract a sickness debuff that reduces stamina regeneration and health. While not immediately fatal, it significantly hampers combat effectiveness and forces you to seek treatment from Albich later. The Prevention task takes only 10 minutes and provides the mask—completing it beforehand prevents frustration. If you’re already sick, Albich can cure you, but you’ll waste time and resources on treatment instead of progressing the main story efficiently
Can I complete Silent Witnesses without using Schnapps or lockpicks?
Technically yes, but it’s dramatically harder. Without Schnapps to bribe Loyza, you must pass difficult speech checks (Coercion or Intimidation) that risk reputation loss. The locked chest containing the golden crucifix can theoretically be skipped if you find alternative evidence paths, but this requires extensive exploration. For optimal experience, gather the recommended items—both are easily accessible early in the DLC. The official Kingdom Come forums document several player-discovered workarounds, though none are as efficient as following the standard path.
.